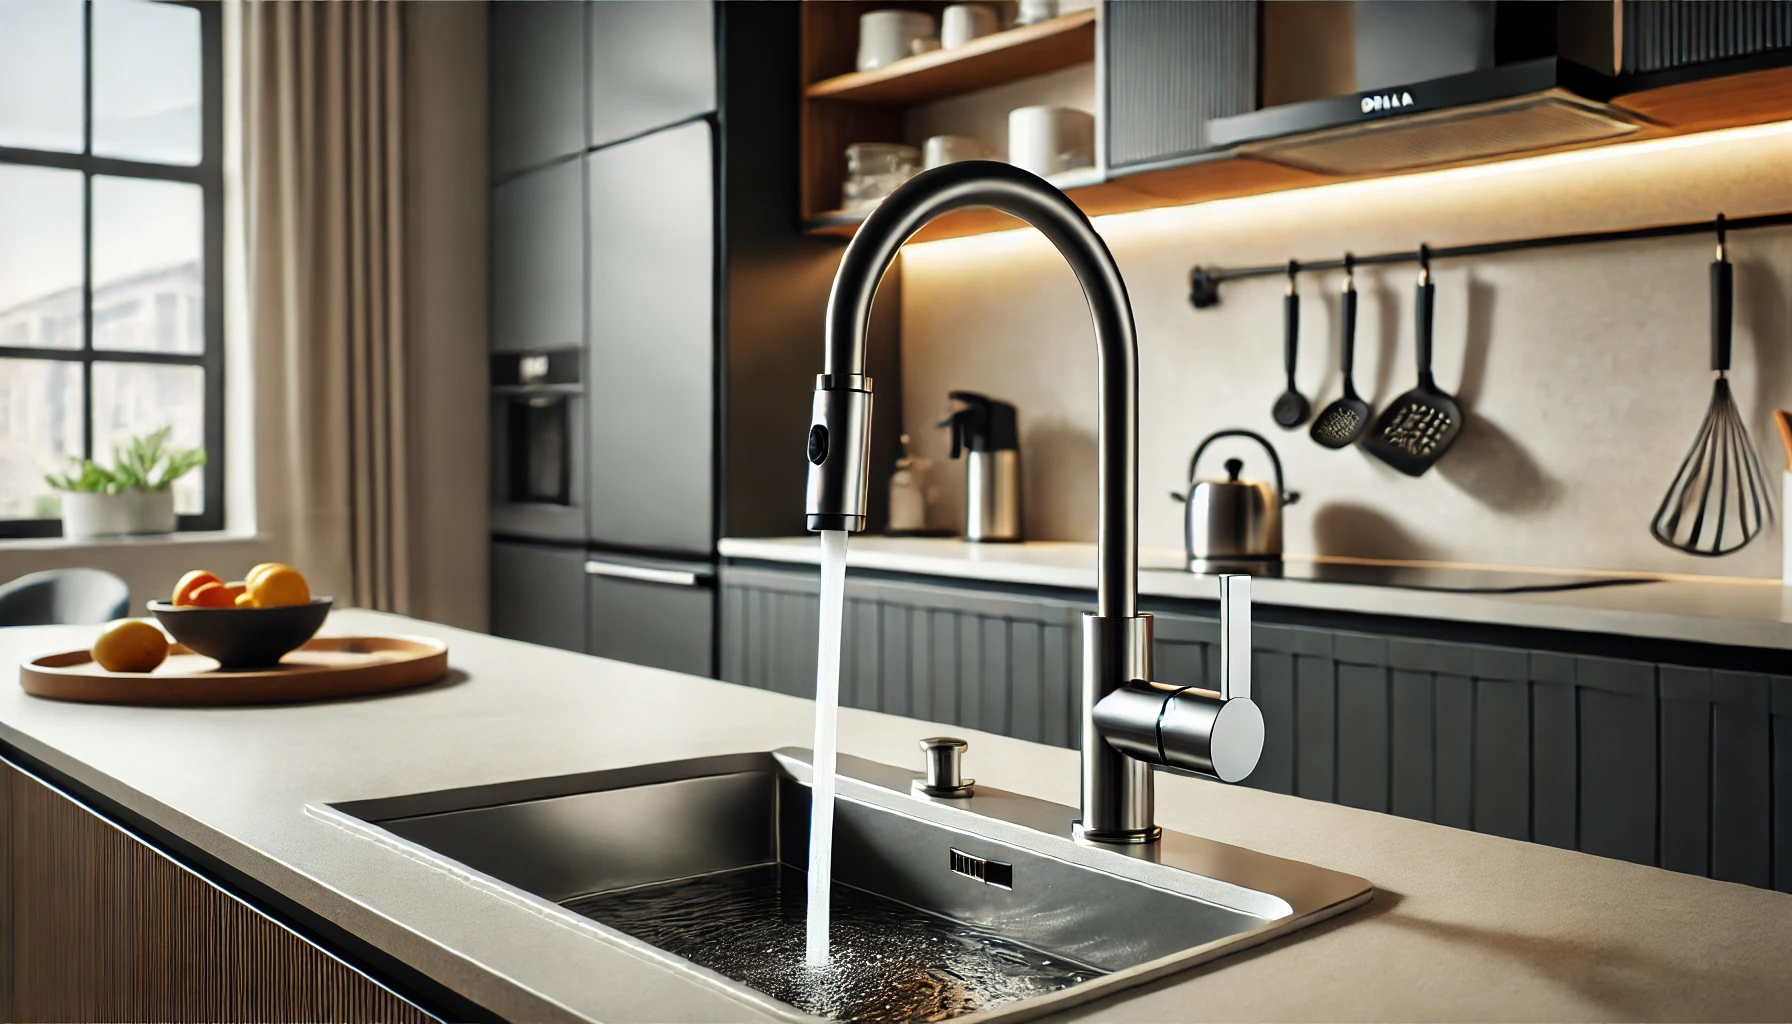
Installing a Delta kitchen faucet is a great way to upgrade your kitchen while improving functionality. Whether you’re replacing an old faucet or installing a brand-new one, following a step-by-step guide ensures a smooth and hassle-free process. In this detailed guide, we’ll cover everything from preparation to final adjustments, ensuring your faucet is installed correctly and works efficiently.
Why Choose a Delta Kitchen Faucet?
Delta is one of the most trusted brands in kitchen fixtures, known for its durability, innovative features, and stylish designs. Their faucets come with advanced technologies such as Touch2O, which allows you to turn the water on and off with a simple touch, and MagnaTite Docking, which secures pull-down sprayers with a magnetic connection.
Delta faucets are also designed for easy installation, often featuring Quick Connect fittings that simplify the process. Additionally, they come with a lifetime limited warranty, ensuring long-term performance and peace of mind.
If you’re looking for reliability, ease of maintenance, and modern technology, Delta kitchen faucets are an excellent choice. Now, let’s move on to the tools and materials you’ll need for the installation.
Tools and Materials Needed
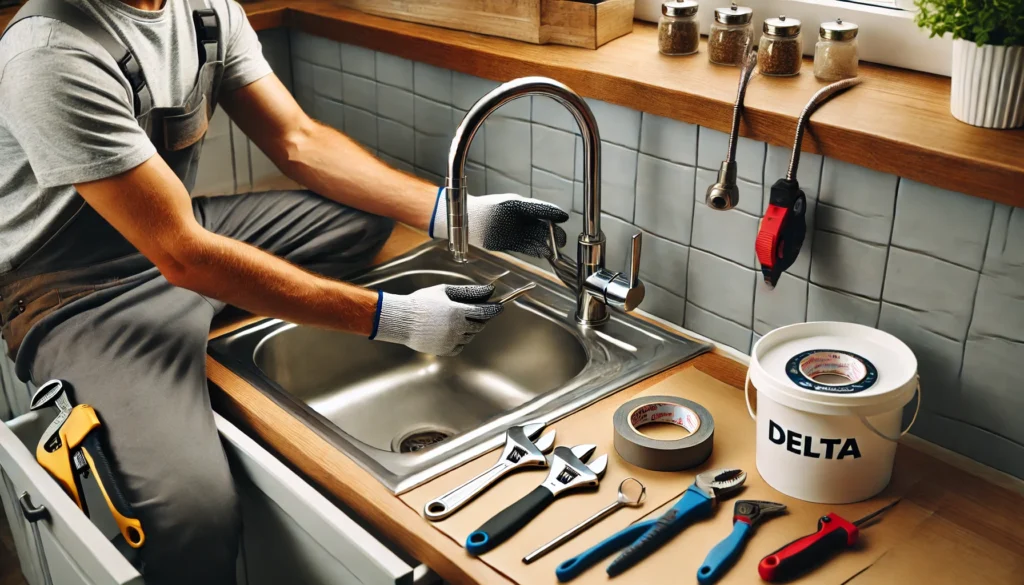
Before starting, gather all the necessary tools and materials to make the installation process smooth. Here’s what you’ll need:
- Adjustable wrench – To tighten or loosen nuts and bolts.
- Basin wrench – Useful for reaching tight spaces under the sink.
- Plumber’s tape – Helps prevent leaks in threaded connections.
- Bucket and towels – To catch any water drips and keep the area clean.
- Plumber’s putty or silicone sealant – Used to create a watertight seal.
- Screwdriver – Needed for securing various components.
- New supply lines (if required) – If your old ones are worn out.
Having these items on hand will ensure you don’t have to pause the installation process to search for missing tools.
Step 1: Preparing for Installation
Before installing your new Delta kitchen faucet, it’s essential to prepare the area properly. This includes shutting off the water supply, removing the old faucet, and cleaning the sink area.
1.1 Turn Off the Water Supply
The first step in any plumbing project is to turn off the water supply to prevent leaks and flooding.
Locating the Shut-Off Valves
Most sinks have shut-off valves located beneath them, usually attached to the water supply pipes. Turn these valves clockwise until they stop to shut off the water. If your kitchen does not have dedicated shut-off valves, you may need to turn off the main water supply to your home.
Draining Any Remaining Water
After shutting off the water, turn on the faucet to drain any remaining water from the pipes. This will relieve pressure and reduce mess during the removal process.
1.2 Remove the Old Faucet
If you are replacing an old faucet, removing it properly ensures a smoother installation of the new one.
Disconnecting Water Supply Lines
Use an adjustable wrench to loosen and disconnect the hot and cold water supply lines from the shut-off valves. Have a bucket handy to catch any remaining water.
Loosening Mounting Nuts
Under the sink, locate the mounting nuts holding the faucet in place. Use a basin wrench to loosen and remove them.
Lifting Out the Old Faucet
Once the mounting nuts are removed, carefully lift the old faucet out of the sink. If it’s stuck due to sealant, use a putty knife to gently loosen it.
1.3 Clean the Sink Area
Before installing the new faucet, make sure the sink area is clean.
Removing Old Sealant and Debris
Use a scraper or putty knife to remove any old plumber’s putty, silicone, or grime around the faucet holes.
Checking for Any Damage
Inspect the area for any signs of corrosion or damage. If necessary, make repairs before installing the new faucet.
Read More: how to install a new kitchen sink faucet
Step 2: Installing the New Delta Kitchen Faucet
Now that the old faucet is removed, it’s time to install your new Delta kitchen faucet.
2.1 Position the New Faucet
Proper positioning is key to a secure and functional installation.
Aligning the Faucet with Mounting Holes
Place the new faucet into the designated holes on your sink. Ensure it is centered and aligned correctly.
Using a Gasket or Plumber’s Putty
Depending on the faucet model, you may need to use a rubber gasket or plumber’s putty to create a watertight seal.
2.2 Secure the Faucet
Once positioned, secure the faucet tightly.
Tightening Mounting Nuts from Underneath
From beneath the sink, screw on the mounting nuts and tighten them using a basin wrench.
Ensuring a Snug and Even Fit
Check that the faucet sits evenly on the sink before fully tightening the nuts.
2.3 Connect Water Supply Lines
The next step is to connect the faucet to the water supply.
Attaching Hot and Cold Water Lines
Screw the hot and cold water lines onto the correct inlets. Most Delta faucets are labeled for easy identification.
Using Plumber’s Tape for Leak Prevention
Wrap plumber’s tape around threaded connections to prevent leaks.
2.4 Install Additional Components (If Applicable)
If your faucet includes extra features, install them now.
Installing a Sprayer or Soap Dispenser
Follow the manufacturer’s instructions to install the sprayer or soap dispenser.
Connecting a Pull-Down Hose
If your faucet has a pull-down hose, connect it securely to the water line.
Read More: how to install a kitchen sink faucet
Step 3: Testing and Final Adjustments
With everything installed, it’s time to test your new faucet.
3.1 Turn On the Water Supply
Carefully turn the water back on.
Slowly Turning on Valves
Gradually turn the shut-off valves counterclockwise to restore water flow.
Checking for Leaks
Examine all connections for leaks and tighten any loose fittings.
3.2 Flush the Faucet
Flushing removes any debris from the installation process.
Running Water to Clear Debris
Turn on both hot and cold water and let it run for a few minutes.
Ensuring Proper Water Pressure
Check that water pressure is consistent and there are no blockages.
3.3 Check for Leaks and Secure Connections
Perform a final inspection.
Inspecting All Joints and Connections
Look under the sink to ensure all connections are dry and secure.
Tightening Any Loose Fittings
If you find any leaks, tighten the fittings as needed.
Conclusion About How to Install a Delta Kitchen Faucet
Congratulations! You have successfully installed your Delta kitchen faucet. To maintain its performance:
- Clean it regularly to prevent mineral buildup.
- Check for leaks periodically to ensure long-term functionality.
- Use Delta-approved replacement parts when needed.
If you experience issues such as low water pressure or dripping, refer to the manufacturer’s troubleshooting guide. Enjoy your new Delta kitchen faucet! 🚰