Painting a room can completely transform your space, but the secret to a flawless finish lies in proper preparation. If you skip prep work, even the best paint won’t deliver the results you expect. In this guide by Builtup Home, we’ll walk you through exactly how to prep a room for painting like a pro.
Why Preparation is Important Before Painting
Before diving into painting, it’s crucial to understand why prep work matters. Proper preparation:
- Ensures smooth and even paint application
- Helps paint adhere better to surfaces
- Prevents peeling and cracking
- Saves time and money in the long run
Skipping these steps can lead to poor results and extra work later.
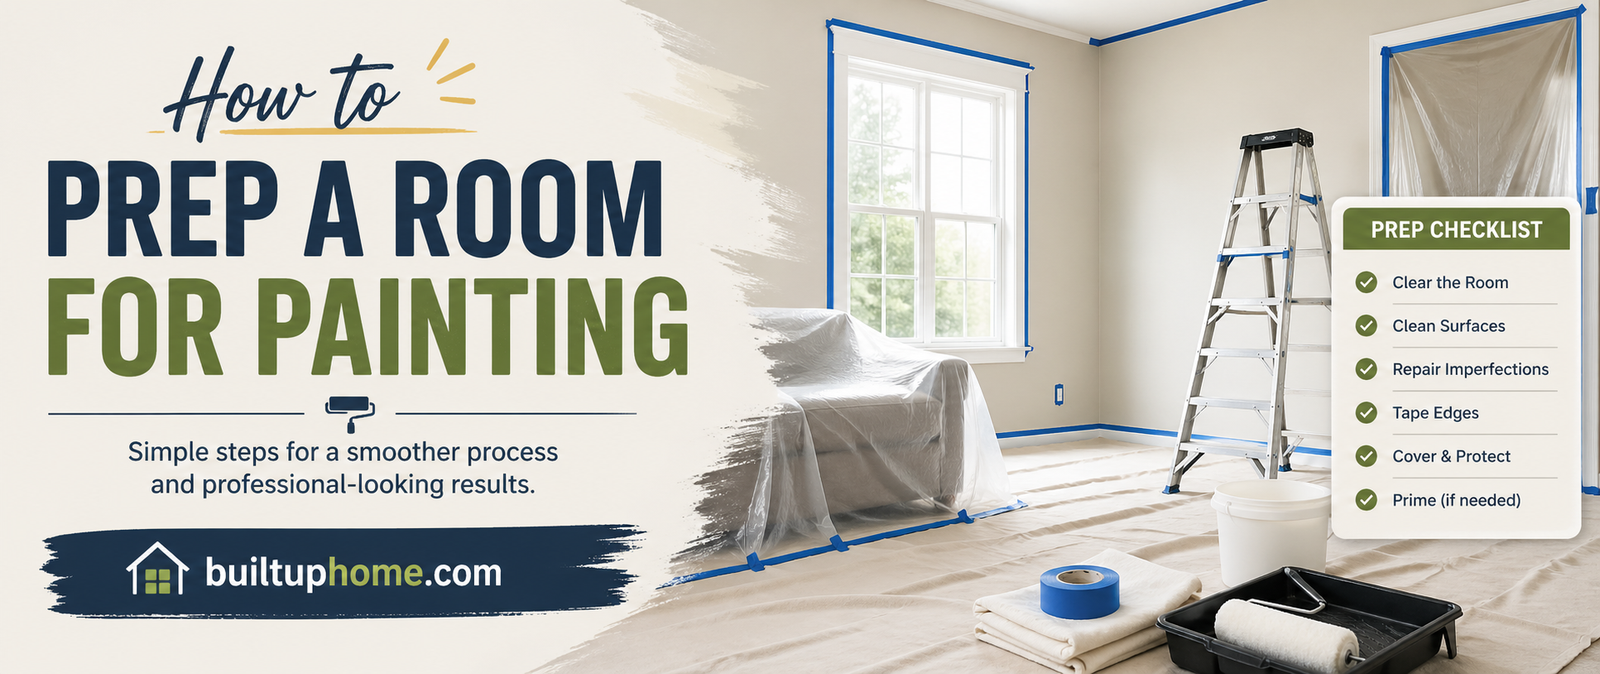
Step 1: Clear the Room
Start by removing as much furniture as possible from the room. If something is too heavy to move:
- Place it in the center of the room
- Cover it with plastic sheets or drop cloths
This keeps your belongings safe from paint splatters and dust.
Step 2: Protect Floors and Fixtures
Cover your floors with canvas drop cloths or plastic sheets. Secure them with tape to avoid slipping.
Don’t forget to protect:
- Light fixtures
- Switch plates
- Door handles
- Baseboards
This step is essential when learning how to prep a room for painting effectively.
Step 3: Clean the Walls
Walls collect dust, grease, and grime over time. Painting over dirty surfaces can ruin the finish.
- Use a mild detergent and water
- Wipe down all surfaces thoroughly
- Let walls dry completely before moving forward
For kitchens and high-traffic areas, a degreaser works best.
Step 4: Repair Imperfections
Inspect your walls carefully for:
- Holes
- Cracks
- Dents
Fix them using:
- Spackling paste or filler
- Sandpaper for smoothing
Once dry, sand the repaired areas until they blend seamlessly with the wall.
Step 5: Sand the Surface
Lightly sanding walls helps paint stick better.
- Use fine-grit sandpaper
- Focus on glossy or uneven areas
- Wipe away dust after sanding
This step is often overlooked but is key in mastering how to prep a room for painting.
Step 6: Apply Painter’s Tape
Use painter’s tape to protect edges and create clean lines.
Apply tape around:
- Windows and door frames
- Trim and molding
- Ceiling edges
Press the tape firmly to prevent paint from bleeding underneath.
Step 7: Prime the Walls
Priming is essential, especially if:
- You’re painting over dark colors
- The wall has stains
- The surface is new or repaired
Primer creates a smooth base and enhances paint durability.
Step 8: Final Inspection
Before you start painting, do a final check:
- Ensure surfaces are clean and dry
- Confirm all repairs are smooth
- Double-check tape placement
Taking a few extra minutes here can make a big difference in the final outcome.
Pro Tips from Builtup Home
- Use high-quality tools for better results
- Work in good lighting to spot imperfections
- Ventilate the room properly
- Don’t rush—prep work is half the job
Conclusion
Understanding how to prep a room for painting is the foundation of any successful painting project. With the right preparation, your paint job will look professional, last longer, and truly elevate your space.
Follow this step-by-step guide from Builtup Home, and you’ll be ready to paint with confidence and precision.