
Introduction
Proper lighting plays a crucial role in every kitchen. It not only enhances the aesthetic appeal of the space but also makes food preparation, cooking, and cleaning easier. Among the various lighting options, can lights (also known as recessed lights) have become a popular choice due to their sleek design and ability to provide uniform illumination.
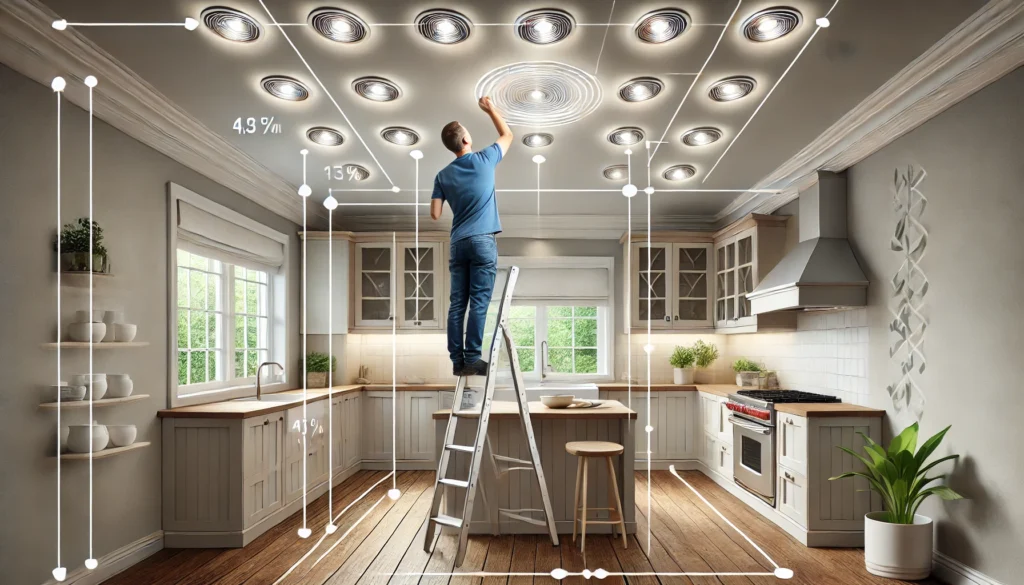
Can lights are installed directly into the ceiling, creating a clean, modern look. They eliminate the need for bulky fixtures, making them perfect for both small and large kitchens. Additionally, they help reduce shadows, provide focused task lighting, and improve overall visibility.
In this guide, we will walk you through the step-by-step process of planning, positioning, and installing can lights in your kitchen. By following these steps, you can achieve optimal lighting that enhances both functionality and style.
Step 1: Planning the Layout
1.1 Understanding Your Kitchen’s Lighting Needs
Lighting in the kitchen serves multiple purposes. It is important to differentiate between task lighting and ambient lighting to ensure proper coverage.
- Task lighting is essential for work areas like countertops, sinks, and kitchen islands. It provides focused illumination for activities such as chopping vegetables, reading recipes, and cooking.
- Ambient lighting offers general brightness to the entire kitchen. It creates a warm and inviting atmosphere and helps eliminate dark spots.
Additionally, identifying dark areas and work zones is crucial before finalizing the placement of can lights. Pay close attention to corners, under cabinets, and areas that receive little natural light.
1.2 Determining the Number of Can Lights Needed
The number of can lights required depends on kitchen size, ceiling height, and spacing guidelines. As a general rule:
- Can lights should be placed 4 to 6 feet apart for an evenly distributed light pattern.
- A standard 8-foot ceiling requires lights to be spaced every 4 feet, while a 10-foot ceiling needs spacing of around 5 to 6 feet.
To determine the total lumens and wattage, consider the brightness required. A well-lit kitchen needs around 5,000–10,000 lumens, depending on the size. LED bulbs offer high brightness with lower energy consumption.
1.3 Choosing the Right Can Light Size and Type
Selecting the right size and type of can light is essential for optimal performance.
- 4-inch vs. 6-inch Can Lights:
- 4-inch lights are best for accent lighting and small kitchens.
- 6-inch lights provide broader coverage and are ideal for larger kitchens.
- LED vs. Incandescent Recessed Lighting:
- LED lights are more energy-efficient and have a longer lifespan.
- Incandescent lights consume more power and generate heat.
- Trim Options:
- Baffle trim: Reduces glare and softens the light.
- Reflector trim: Maximizes brightness.
- Eyeball trim: Allows directional adjustments.
Read More: how to clean laminate kitchen cabinets without streaks
Step 2: Positioning the Can Lights Correctly
2.1 Ideal Placement for Different Kitchen Areas
Each area of the kitchen has different lighting requirements.
- Over Kitchen Islands: Place can lights directly above the island, spaced evenly to provide uniform brightness.
- Above Countertops and Workspaces: Position lights 12–18 inches from the wall to reduce shadows.
- Around the Perimeter for Ambient Lighting: Distribute lights symmetrically across the ceiling to create a balanced glow.
- Over the Sink for Focused Illumination: Install a dedicated can light directly above the sink for clear visibility when washing dishes.
2.2 Following Proper Spacing Guidelines
Spacing is a critical factor in achieving a well-lit kitchen.
- How Far Apart Should Can Lights Be?: Follow the ceiling height rule (divide the height by 2 to get the spacing).
- Avoiding Shadows and Uneven Lighting: Avoid placing lights too close to the walls or too far apart, as this can create shadows and dark zones.
2.3 Aligning Lights for a Balanced Look
- Symmetry vs. Functionality: While symmetrical placement enhances aesthetics, it is important to align the lights based on functionality to target key areas.
- Working with Ceiling Beams and Obstacles: Ensure lights are placed in locations that do not interfere with ceiling joists or other structural elements.
Step 3: Installation and Wiring
3.1 Preparing for Installation
Before installing can lights, follow these safety precautions:
- Turn off power at the circuit breaker.
- Use a voltage tester to confirm no current is flowing.
- Mark the layout on the ceiling using chalk lines or a laser level for accuracy.
3.2 Cutting and Mounting the Can Lights
- Tools Needed for Installation: A drill, hole saw, wire strippers, and a screwdriver.
- Cutting the Ceiling Holes Accurately: Use a template to ensure even-sized cutouts.
- Securing the Can Housing: Once cut, insert and secure the can housing with clips or mounting brackets.
3.3 Electrical Wiring and Connections
- Running the Wiring Safely: Route the wires through ceiling joists and connect them securely to the light fixtures.
- Connecting to a Dimmer Switch (Optional): A dimmer switch allows adjustable brightness.
- Testing the Lights Before Finalizing: Turn on the circuit to check for proper functionality before sealing the ceiling.
Read More: how to clean laminate kitchen cupboards without streaks
Additional Considerations for Can Light Placement
Dimming and Smart Control Options
- Installing Dimmer Switches for Adjustable Brightness: Allows mood control and energy efficiency.
- Using Smart Bulbs for Customizable Settings: Enables remote control and scheduling via mobile apps.
Matching Can Lights with Other Kitchen Lighting
- Combining Recessed Lights with Pendant and Under-Cabinet Lighting: Creates layered lighting for depth and warmth.
- Layering Light for a Cohesive Look: Balances brightness across different zones.
Energy Efficiency and Long-Term Maintenance
- Choosing LED for Lower Energy Costs: Saves power and reduces electricity bills.
- Cleaning and Replacing Can Light Bulbs: Regular maintenance ensures longevity and brightness.
Conclusion About Can Light Placement in Kitchen
A well-thought-out can light placement strategy enhances both functionality and aesthetics in the kitchen. By carefully planning the layout, positioning the lights correctly, and following proper installation techniques, you can create an efficient and visually appealing kitchen environment.
Common mistakes to avoid include improper spacing, using the wrong bulb type, and neglecting dimming options. If unsure, it’s best to consult a professional electrician for safe and precise installation.