A well-lit kitchen is essential for both aesthetics and functionality. One of the most effective ways to achieve balanced lighting is by using can lights, also known as recessed lighting. Can lights provide even illumination, eliminate shadows, and enhance the kitchen’s overall ambiance. However, determining how many can lights you need requires careful planning based on kitchen size, layout, and lighting needs.
In this guide, we will walk you through a step-by-step approach to determining the correct number of can lights, their placement, and installation. We’ll cover:
- Step 1: Determining the number of can lights needed based on kitchen dimensions and lighting zones.
- Step 2: Planning the placement to ensure even and effective illumination.
- Step 3: Installing can lights efficiently while considering safety and electrical factors.
By the end of this article, you’ll have a clear understanding of how to calculate, position, and install can lights in your kitchen for optimal brightness and style.
Importance of Proper Kitchen Lighting
The kitchen is one of the most frequently used spaces in any home, serving as a place for cooking, dining, and even socializing. Proper lighting is crucial because it affects:
- Functionality – Bright and well-placed lighting enhances visibility, making food preparation and cooking safer and more efficient.
- Aesthetic Appeal – A well-lit kitchen looks more inviting and stylish. Good lighting can highlight design elements like countertops, cabinets, and backsplashes.
- Mood & Comfort – The right lighting can set the ambiance. Too dim can make the space feel unwelcoming, while too bright may cause glare.
- Energy Efficiency – Choosing the right number and type of lights can reduce energy costs while providing sufficient illumination.
Can lights are a versatile and effective lighting solution because they provide direct, focused illumination without occupying ceiling space, making them ideal for kitchens.
What Are Can Lights (Recessed Lighting)?
Can lights, also known as recessed lights, are lighting fixtures installed into a ceiling, creating a sleek and modern appearance. Unlike hanging lights or chandeliers, can lights sit flush with the ceiling, offering clean and unobtrusive illumination.
Key characteristics of can lights include:
- Recessed Installation: The light fixture is set inside the ceiling, providing a streamlined look.
- Directional Lighting: Some can lights are adjustable, allowing you to direct light to specific areas.
- Variety of Bulbs: Compatible with LED, halogen, and incandescent bulbs.
- Multiple Trim Options: Trims like baffle, reflector, and gimbal enhance lighting performance.
Can lights are especially beneficial for kitchens because they provide task lighting over work areas while maintaining an open, airy feel.
Benefits of Using Can Lights in a Kitchen
Using can lights in a kitchen comes with several advantages:
- Space-Saving Design – Unlike pendant lights or chandeliers, can lights don’t take up visual space, making the kitchen look cleaner and less cluttered.
- Even Illumination – When strategically placed, can lights prevent shadows and dark spots, ensuring the entire kitchen is well-lit.
- Versatility – Can lights work well in both modern and traditional kitchens and can be paired with other lighting solutions.
- Energy Efficiency – Using LED can lights reduces energy consumption while providing excellent brightness.
- Customizable Layout – Homeowners can arrange can lights in various patterns to achieve the perfect lighting scheme.
Given these benefits, it’s no surprise that can lights are one of the most popular lighting choices for kitchens.
Step 1: Determine the Number of Can Lights Needed
Before installing can lights, it’s crucial to determine how many you need. Installing too few can lead to dim spots, while too many can create excessive brightness.
The number of can lights required depends on:
- The kitchen’s size (square footage)
- Lighting needs (task lighting vs. general illumination)
- Spacing recommendations to avoid glare or dark spots
Let’s break down the process:
1.1 Measure Your Kitchen Size
How to Measure Kitchen Dimensions (Length × Width)
Before determining the number of can lights needed, you must calculate the kitchen’s square footage. The formula is:
Length × Width = Total Square Feet
For example:
- A 10 ft × 12 ft kitchen = 120 square feet
- A 15 ft × 18 ft kitchen = 270 square feet
Knowing this measurement helps apply general lighting formulas to determine the right number of can lights.
1.2 Use the General Lighting Formula
Standard Rule: One Can Light per 4-6 Square Feet
A common formula for kitchen lighting is:
Total Square Feet ÷ 4 = Minimum Number of Can Lights
Total Square Feet ÷ 6 = Maximum Number of Can Lights
Example Calculation for Small, Medium, and Large Kitchens:
- Small Kitchen (100 sq. ft.): Needs 16-25 can lights
- Medium Kitchen (200 sq. ft.): Needs 33-50 can lights
- Large Kitchen (300 sq. ft.): Needs 50-75 can lights
This range ensures sufficient brightness without over-lighting the space.
1.3 Consider Kitchen Layout & Zones
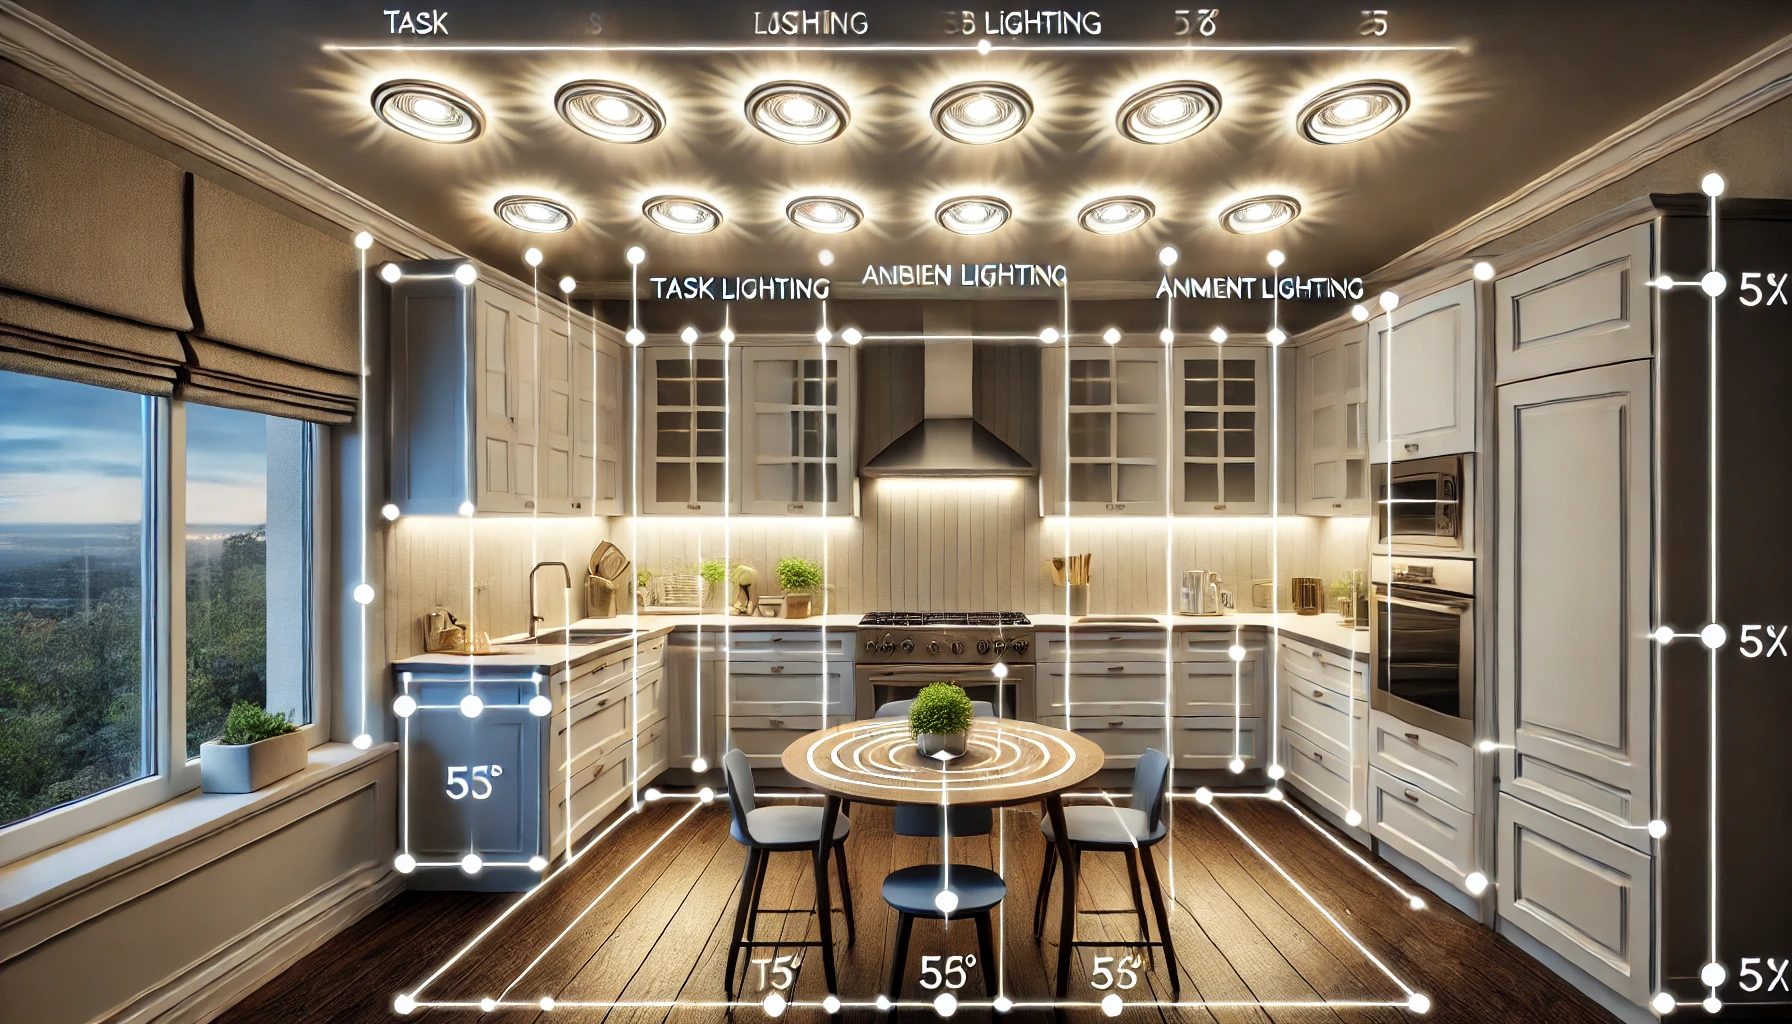
Instead of placing can lights randomly, divide the kitchen into three lighting zones:
- Task Lighting (Over Countertops & Islands) – Provides direct light for food preparation and cooking.
- Ambient Lighting (General Illumination) – Covers the entire kitchen, preventing dark spots.
- Accent Lighting (Highlighting Features) – Adds decorative lighting to highlight architectural details.
Considering these zones helps distribute light efficiently while avoiding unnecessary installations.
Step 2: Plan the Placement of Can Lights

Once you determine the number of lights needed, the next step is strategically placing them to maximize illumination.
Factors to consider:
- Spacing guidelines to prevent over-lighting or under-lighting
- Positioning lights in key workspaces
- Choosing the right beam angle for optimal brightness
2.1 Spacing Guidelines
How Far Apart Should Can Lights Be?
A general rule is:
Distance Between Can Lights = Ceiling Height ÷ 2
For example:
- An 8-foot ceiling → Can lights should be 4 feet apart
- A 10-foot ceiling → Can lights should be 5 feet apart
Avoiding Shadows & Uneven Lighting
To prevent dark areas:
Use layered lighting (pendants + recessed lights) for balance.
Place can lights closer to walls for backsplash illumination.
2.2 Positioning Can Lights for Functionality
Proper placement ensures each light serves a purpose, rather than just illuminating the ceiling. Here’s how to position can lights based on function:
Above Workspaces (Sink, Stove, Prep Areas)
- Place one can light directly above the sink to eliminate shadows.
- Position two or more can lights above countertops where food prep happens.
- Ensure stove areas have sufficient task lighting, especially if there’s no range hood with built-in lights.
Over Kitchen Islands & Dining Spaces
- Kitchen islands need at least two or three can lights, depending on size.
- Space them evenly along the length of the island.
- Combine with pendant lights for a stylish and functional look.
Around Kitchen Cabinets for Balanced Lighting
- Can lights near cabinets reduce dark corners and highlight cabinetry details.
- For upper cabinets, place can lights 12-18 inches from the cabinet face.
Proper positioning eliminates shadows, enhances visibility, and makes the kitchen more inviting.
2.3 Choosing the Right Beam Angle & Trim Type
The beam angle and trim type of can lights impact how light is distributed.
Narrow vs. Wide Beam Angle for Can Lights
- Narrow Beam (20-30°): Ideal for task lighting (focused light over a sink or countertop).
- Wide Beam (50-120°): Best for general kitchen lighting (ensures even illumination).
Selecting Baffle, Reflector, or Gimbal Trims
- Baffle Trim: Reduces glare, making it great for ambient lighting.
- Reflector Trim: Enhances brightness, useful for high ceilings.
- Gimbal Trim: Adjustable, allowing you to direct light where needed.
Choosing the right beam angle and trim ensures the kitchen is well-lit without excessive brightness.
Step 3: Install the Can Lights Efficiently
After calculating the number and positioning of can lights, the next step is installation. Proper wiring and placement are essential for safety and performance.
3.1 Electrical Considerations & Safety Precautions
Before installation, ensure your home’s electrical system can handle the additional load from new lighting fixtures.
Understanding Wiring & Circuit Load
- Check your electrical panel’s capacity before installing multiple can lights.
- Most LED can lights use 9-15 watts, so a standard circuit can handle multiple fixtures.
Hiring an Electrician vs. DIY Installation
- DIY Installation: Possible if you’re experienced with electrical work.
- Hiring an Electrician: Recommended for complex wiring or installing many lights at once.
Safety Tip: Always turn off power at the circuit breaker before installing or modifying electrical fixtures.
Read More: can light placement in kitchen
3.2 Step-by-Step Installation Process
Marking the Ceiling for Light Placement
- Use a chalk line or laser level to mark positions.
- Follow the spacing guidelines from Step 2.1 to ensure even distribution.
Cutting Ceiling Holes for Recessed Lights
- Use a hole saw or drywall saw to cut precise openings.
- Ensure holes align with ceiling joists to avoid structural issues.
Wiring & Connecting the Lights
- Connect wires following manufacturer instructions.
- Use wire nuts to secure connections.
Securing & Testing the Installation
- Attach lights securely using the provided mounting clips.
- Restore power and test each light before sealing the ceiling.
Following a structured installation approach prevents mistakes and ensures a professional finish.
3.3 Choosing the Right Bulbs & Dimming Options
Selecting the right bulb type and brightness settings improves energy efficiency and ambiance.
LED vs. Halogen Can Lights
- LED Lights: Energy-efficient, last longer, and generate less heat.
- Halogen Lights: Brighter but consume more electricity and get hotter.
Using Dimmers for Adjustable Brightness
- Install dimmer switches to adjust brightness based on time of day.
- Helps create a warm, inviting kitchen atmosphere.
Opting for LED bulbs with dimming capabilities provides the best mix of efficiency and flexibility.
Additional Tips for Perfect Kitchen Lighting
Combining Can Lights with Pendant & Under-Cabinet Lights
- Pendant Lights: Add style and focused illumination above islands.
- Under-Cabinet Lights: Provide direct lighting for countertops.
Avoiding Common Mistakes (Over-lighting or Uneven Placement)
- Too many lights can cause glare—follow spacing rules.
- Placing lights too close to cabinets can cast unnecessary shadows.
Energy-Efficient & Smart Lighting Options
- Smart LED can lights offer remote control and scheduling.
- Motion-sensor or voice-controlled lights add convenience.
Conclusion About How Many Can Lights in a Kitchen
A well-lit kitchen improves functionality, aesthetics, and energy efficiency. By following this guide, you can:
- Determine the right number of can lights based on kitchen size.
- Plan the placement strategically to ensure even illumination.
- Install can lights safely and efficiently for long-lasting performance.
Proper kitchen lighting enhances visibility, prevents dark spots, and creates an inviting space. With the right can lights, your kitchen will not only be functional but also stylish and energy-efficient.