Introduction
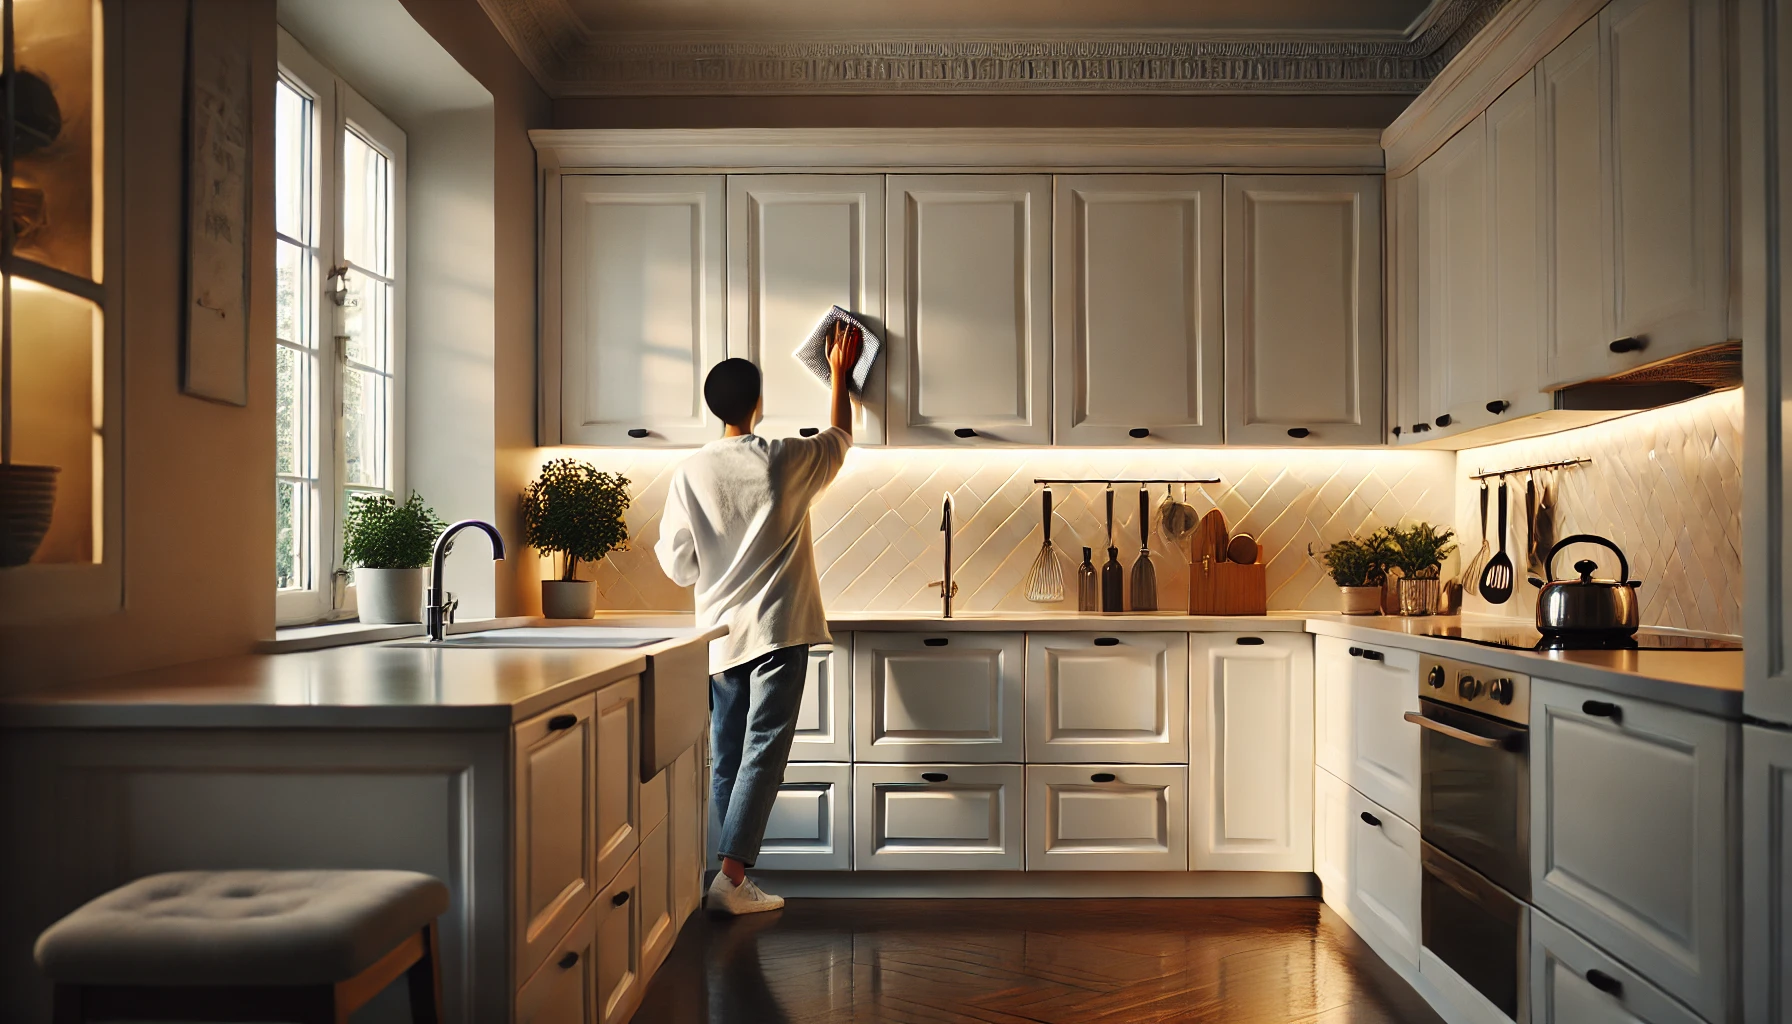
Painted kitchen cabinets are a stylish addition to any home, but they require regular maintenance to keep them looking fresh and clean. Unlike raw wood or laminate, painted surfaces can be sensitive to harsh chemicals and abrasive scrubbing, which can cause damage over time. Proper cleaning techniques help maintain the integrity of the paint while ensuring your kitchen stays spotless.
Over time, kitchen cabinets accumulate grease, food splatters, and dust, making them look dull and unappealing. If not cleaned regularly, this buildup can become stubborn and difficult to remove, leading to permanent stains or discoloration. Regular maintenance can extend the life of your painted cabinets and keep them looking as good as new.
This step-by-step guide will walk you through the best methods for cleaning your painted kitchen cabinets. From choosing the right cleaning supplies to deep-cleaning stubborn stains, you’ll learn everything you need to maintain your cabinets without damaging the paint.
Why Proper Cleaning Matters for Painted Cabinets
Painted cabinets enhance the beauty of your kitchen, but improper cleaning can lead to peeling, chipping, and fading. Unlike stained wood, which absorbs some dirt, painted surfaces show grime more visibly and need frequent care. Cleaning with the wrong products can strip away the protective finish, making your cabinets more prone to damage.
Additionally, grease and moisture from cooking can seep into the paint, leading to bubbling or discoloration. If left unchecked, mold and mildew can also develop, especially in humid environments. Using the right cleaning techniques not only preserves the appearance of your cabinets but also prevents long-term damage.
Consistent cleaning also helps prevent costly repairs. Neglecting maintenance can lead to repainting, which is time-consuming and expensive. By using gentle yet effective cleaning solutions, you can keep your cabinets in pristine condition without causing unnecessary wear.
Best Cleaning Practices to Preserve Paint Finish
To maintain the beauty of painted cabinets, it’s essential to follow best cleaning practices. Always use soft, non-abrasive materials such as microfiber cloths and sponges. Avoid scrubbing with rough pads or steel wool, as they can scratch the paint and cause permanent marks.
Stick to mild cleaning solutions like diluted dish soap or white vinegar. Harsh chemicals like bleach or ammonia-based cleaners can weaken the paint, causing it to crack or fade over time. When using commercial cleaners, always check the label to ensure they are safe for painted surfaces.
Cleaning should be done with minimal water to prevent moisture from seeping into the paint. Excess water can lead to bubbling or peeling, particularly around edges and corners. After cleaning, always dry cabinets thoroughly with a lint-free cloth to remove any residual moisture.
Another key practice is to clean spills immediately. Leaving stains to sit for too long can make them harder to remove and may cause discoloration. Regular dusting and spot cleaning will reduce the need for deep cleaning and keep your cabinets looking fresh.
How Often Should You Clean Your Cabinets?
The frequency of cleaning depends on your kitchen’s usage. If you cook daily, your cabinets will likely accumulate grease and food residue faster than those in a rarely used kitchen. In general:
- Daily: Wipe down cabinets with a dry microfiber cloth to remove dust and light debris.
- Weekly: Use a mild soap solution to clean handles and high-touch areas.
- Monthly: Deep clean cabinet surfaces to remove grease and buildup.
- Every 6 Months: Check for any chips or scratches and touch up paint as needed.
Regular cleaning helps maintain the durability of the paint and prevents stubborn stains from forming. A simple routine can extend the life of your cabinets and reduce the need for costly refinishing.
Step 1: Gather the Necessary Cleaning Supplies
Having the right cleaning supplies is essential for protecting the finish of your painted cabinets. Using incorrect materials can damage the paint, leading to costly repairs. Always opt for gentle, non-abrasive tools and solutions to preserve the integrity of the paint.
When selecting cleaning products, choose those specifically designed for painted surfaces. Harsh chemicals can strip away the protective layer, while excessive moisture can cause swelling and peeling. Keeping a well-stocked cleaning kit ensures you’re always prepared to tackle spills and stains effectively.
Choosing the Right Cleaning Products
Picking the right cleaning products ensures your cabinets stay clean without damage. Avoid cleaners that contain bleach, ammonia, or strong solvents, as they can weaken the paint. Instead, opt for natural or mild solutions that effectively remove dirt without being too harsh.
For everyday cleaning, a simple mixture of warm water and dish soap works well. It removes grease and grime without harming the paint. For deeper cleaning, vinegar solutions and baking soda can be used, but they should be applied carefully to avoid overexposure to moisture.
Using commercial cleaners is an option, but always read the label to confirm they are safe for painted surfaces. Some products are specifically designed for kitchen cabinets and offer added protection against stains and moisture.
Mild Dish Soap and Warm Water
A mixture of mild dish soap and warm water is one of the safest ways to clean painted cabinets. Dish soap effectively cuts through grease while being gentle on the paint. Simply mix a few drops of dish soap in a bowl of warm water and use a microfiber cloth to wipe down the surfaces.
Avoid using too much water, as excessive moisture can damage the paint. Wring out the cloth before wiping to ensure minimal liquid exposure. After cleaning, use a dry cloth to remove any remaining moisture and prevent streaks.
Regular use of dish soap and water helps maintain the cabinets’ cleanliness and prevents buildup from accumulating over time. It’s an easy and effective solution for everyday maintenance.
White Vinegar Solution for Grease Removal
White vinegar is an excellent natural cleaner for cutting through grease and grime. Its acidic properties help break down stubborn residues without harming the paint. Mix equal parts vinegar and water in a spray bottle and lightly mist the surface before wiping with a microfiber cloth.
Vinegar is especially useful for cabinets located near stovetops, where grease tends to accumulate. However, it should not be used too frequently, as prolonged exposure to acid can affect the paint’s finish. Rinse with a damp cloth after cleaning to remove any vinegar residue.
For stronger grease stains, vinegar can be combined with baking soda to create a gentle scrubbing paste. Apply the paste to the stain, let it sit for a few minutes, then wipe away with a damp cloth.
Baking Soda for Stubborn Stains
Baking soda is a powerful yet gentle cleaner that can help remove stubborn stains without damaging the paint. It works as a mild abrasive, making it effective for tackling grease spots, dried food stains, and other difficult marks on kitchen cabinets.
To use baking soda for cleaning painted cabinets:
- Mix a small amount of baking soda with water to create a thick paste.
- Apply the paste to the stained area using a soft cloth or sponge.
- Let it sit for a few minutes to break down the stain.
- Gently scrub in circular motions to lift the stain.
- Wipe the area with a damp cloth and dry immediately with a lint-free towel.
Baking soda should be used sparingly, as excessive scrubbing can wear down the paint finish. It is best for spot cleaning rather than daily maintenance.
Commercial Cleaners (Safe for Painted Surfaces)
If you prefer commercial cleaners, always choose ones labeled safe for painted wood. Many household cleaners contain harsh chemicals that can strip the paint, causing discoloration or peeling.
When selecting a cleaner:
- Look for non-toxic, eco-friendly options to prevent chemical damage.
- Avoid cleaners with bleach, ammonia, or alcohol, as they can weaken the paint finish over time.
- Test the cleaner on a small hidden area before applying it to the entire cabinet surface.
To use a commercial cleaner, spray a small amount onto a microfiber cloth (not directly on the cabinet) and gently wipe the surface. Follow up with a clean, damp cloth to remove any residue.
Essential Cleaning Tools
The right cleaning tools are just as important as the cleaning solutions. Using the wrong tools can lead to scratches or damage to the paint. Here are some must-have tools for cleaning painted kitchen cabinets:
Microfiber Cloths
Microfiber cloths are ideal for cleaning painted cabinets because they are soft, non-abrasive, and highly absorbent. They trap dust and grime effectively without leaving streaks or lint behind.
To use microfiber cloths:
- Use a dry microfiber cloth for daily dusting.
- For light cleaning, dampen the cloth with warm water and gently wipe the surface.
- After using a cleaning solution, follow up with a dry microfiber cloth to remove excess moisture.
Microfiber cloths can be washed and reused, making them a cost-effective and eco-friendly cleaning option.
Soft Sponges
A soft sponge is useful for cleaning cabinets with mild soap solutions. Unlike abrasive scrubbers, soft sponges prevent scratches and are gentle on painted surfaces.
When using a sponge:
- Dip it in a mild cleaning solution and wring out excess water.
- Wipe in a circular motion to lift dirt and grease.
- Avoid using the rough side of the sponge, as it can scratch the paint.
Sponges should be rinsed thoroughly after each use to prevent the buildup of bacteria and residue.
Old Toothbrush or Soft Scrub Brush
For cleaning cabinet corners, handles, and crevices, an old toothbrush or a soft scrub brush is extremely effective. These tools help remove grime from hard-to-reach areas without causing damage.
How to use a toothbrush for cleaning:
- Dip the bristles into a mild soap or baking soda paste.
- Gently scrub around handles, edges, and any intricate designs.
- Wipe the area with a damp cloth to remove residue.
Toothbrushes with soft bristles work best, as stiff bristles can wear down the paint over time.
Spray Bottle (for DIY Cleaners)
A spray bottle is a convenient tool for applying homemade cleaning solutions evenly across cabinet surfaces. It helps control the amount of liquid used, preventing excessive moisture from damaging the paint.
To use a spray bottle:
- Fill it with a vinegar-water solution or soapy water.
- Lightly mist the cabinet surface.
- Wipe immediately with a microfiber cloth.
Using a spray bottle ensures that you don’t oversaturate the cabinets, which is essential for maintaining the integrity of the paint.
Step 2: Preparing the Cabinets for Cleaning
Before you begin cleaning, it’s important to prepare your cabinets properly. This step ensures that you remove loose debris and protect the paint from potential damage.
Clearing Out the Cabinets
Removing items from the cabinets allows you to clean both the interior and exterior thoroughly. Food crumbs, dust, and spills often accumulate inside, leading to unpleasant odors and stains.
Steps to clear out the cabinets:
- Take out all dishes, utensils, and stored items.
- Place them on a clean surface or countertop.
- Use this opportunity to check for expired food or items that need organizing.
Once the cabinets are empty, you can clean them more effectively without obstruction.
Removing Dust and Loose Debris
Dust and debris can settle on cabinet surfaces over time, making cleaning more difficult. Removing them first prevents dirt from spreading or becoming embedded in the paint.
Using a Dry Microfiber Cloth
A dry microfiber cloth is perfect for wiping away dust without leaving streaks. Simply run the cloth over the cabinet doors, sides, and edges to pick up loose dirt.
For best results:
- Fold the cloth and wipe in long, even strokes.
- Change the cloth if it becomes too dirty.
- Dust cabinets weekly to prevent buildup.
Vacuuming Inside the Cabinets
A handheld vacuum with a soft brush attachment is useful for cleaning cabinet interiors, especially for removing crumbs and dust from corners.
How to vacuum cabinets:
- Attach the soft brush nozzle to the vacuum.
- Gently run it along the shelves and corners.
- Vacuum the cabinet doors if they have grooves or detailed carvings.
Vacuuming helps remove tiny debris that a cloth may miss, making the cleaning process more thorough.
Testing the Cleaning Solution on a Hidden Spot
Before applying any cleaning solution to your cabinets, test it on an inconspicuous area. This ensures that it won’t damage or discolor the paint.
To test a cleaner:
- Choose a small, hidden section inside a cabinet door.
- Apply a small amount of the cleaning solution.
- Wait for a few minutes and wipe it off.
- Check for any discoloration or paint damage.
If the test area remains unchanged, the solution is safe to use on the entire cabinet surface.
Read More: how to clean white kitchen cabinets
Step 3: Cleaning the Painted Kitchen Cabinets
Once you have prepared the cabinets, it’s time to start the cleaning process. Painted kitchen cabinets require gentle yet effective cleaning techniques to maintain their appearance without damaging the paint. Depending on the level of dirt and grime, you may follow a daily light cleaning routine or a deeper cleaning method for tougher stains.
A. Daily or Light Cleaning Routine
For everyday maintenance, a simple wipe-down can keep your painted cabinets looking fresh and clean. Regular cleaning prevents grease, dust, and food particles from accumulating over time.
Wiping with a Damp Cloth
A damp microfiber cloth is the safest and easiest way to remove light dirt from cabinets. This method works best for routine cleaning without using harsh chemicals.
How to wipe cabinets with a damp cloth:
- Dampen a microfiber cloth with warm water.
- Wring out excess moisture to prevent over-wetting the paint.
- Wipe the cabinet doors, edges, and handles in smooth strokes.
- Use a dry cloth to remove any remaining moisture.
This method is ideal for quick touch-ups and daily upkeep.
Using a Mild Soap Solution for Surface Dirt
If cabinets have a slightly greasy or sticky feel, a mild dish soap solution can help break down the dirt without harming the paint.
How to use a soap solution:
- Mix a few drops of mild dish soap in a bowl of warm water.
- Dip a microfiber cloth or sponge into the soapy water.
- Wipe down the cabinets, focusing on high-touch areas.
- Rinse with a damp cloth to remove soap residue.
- Dry with a lint-free towel to prevent water stains.
This method is safe for frequent use and keeps cabinets looking polished.
B. Deep Cleaning for Stains and Grease Buildup
Over time, cabinets may develop stubborn grease stains and grime, especially near cooking areas. A deep-cleaning approach is needed to remove built-up residue effectively.
How to Remove Grease Without Damaging Paint
Grease buildup is common in kitchens, but harsh degreasers can strip the paint. A gentle but effective solution is using a vinegar and water mixture.
Steps to remove grease:
- Mix equal parts white vinegar and warm water in a spray bottle.
- Lightly mist the greasy areas (do not oversaturate).
- Let the solution sit for a minute to break down the grease.
- Wipe with a soft cloth in circular motions.
- If needed, repeat the process or use a small amount of mild dish soap.
- Dry the cabinets thoroughly with a microfiber towel.
Vinegar helps dissolve grease without leaving streaks or damaging the paint.
Cleaning Around Handles and Knobs
Handles and knobs are high-contact areas that collect dirt, grease, and fingerprints. They require extra attention during cleaning.
How to clean cabinet hardware:
- Dip an old toothbrush into a mild soap solution.
- Scrub around handles, knobs, and hinges to remove grime.
- Wipe with a damp cloth to remove soap residue.
- Dry thoroughly to prevent water spots.
For metal hardware, a little bit of diluted vinegar can help restore shine.
Dealing with Sticky Residue
Sticky residue from food spills, oils, or adhesives can be tricky to remove. Baking soda paste is an effective and safe option.
Steps to remove sticky residue:
- Mix baking soda with a small amount of water to form a paste.
- Apply the paste to the sticky area using a cloth or sponge.
- Let it sit for a few minutes to break down the residue.
- Gently scrub in circular motions.
- Wipe with a damp cloth and dry thoroughly.
This method works well for small, stubborn spots without harming the cabinet’s finish.
C. Tackling Stubborn Stains
Sometimes, stains become embedded in the paint and require extra effort to remove. Different types of stains need specific cleaning approaches.
Using Baking Soda Paste for Tough Spots
Baking soda is slightly abrasive and can help lift deep-set stains without scratching the paint.
How to use it:
- Mix baking soda with a small amount of water to create a thick paste.
- Apply it to the stained area using a soft cloth.
- Let it sit for 5–10 minutes.
- Gently scrub with a soft brush or sponge.
- Wipe off the paste with a damp cloth.
- Dry the area completely.
Use this method sparingly to avoid wearing down the paint.
Removing Water Stains or Food Spills
Water stains and dried food spills can leave unsightly marks on cabinets. These should be cleaned as soon as possible to prevent permanent damage.
Steps to remove water stains:
- Dampen a soft cloth with warm water and mild dish soap.
- Gently wipe the affected area.
- For tougher stains, apply a vinegar-water mixture and let it sit briefly.
- Wipe clean with a damp cloth and dry immediately.
Drying is essential to prevent further water damage.
Cleaning Grime from Cabinet Corners
Cabinet corners tend to collect dirt and grease over time. A small brush or an old toothbrush works well for these tight spaces.
How to clean corners:
- Dip a toothbrush in mild soapy water or vinegar solution.
- Scrub gently to loosen grime.
- Wipe with a damp cloth.
- Dry with a clean towel.
This ensures that no residue or moisture is left behind.
Step 4: Rinse and Dry Cabinets Properly
After cleaning the cabinets, it’s essential to remove any leftover cleaning solution and ensure the cabinets are completely dry. Excess moisture can lead to water damage, paint chipping, or warping of the wood underneath. Proper rinsing and drying will help maintain the cabinets’ finish and longevity.
Why You Should Avoid Excess Water
Using too much water while cleaning painted kitchen cabinets can lead to long-term damage. Water can seep into cracks, causing paint to peel or wood to swell.
Reasons to minimize water use:
- Prevents Paint Damage: Excess water can weaken the paint, leading to chipping or bubbling.
- Reduces Risk of Warping: Wood cabinets absorb moisture, which can cause swelling or distortion.
- Avoids Mold Growth: Damp cabinets can become breeding grounds for mold and mildew.
Best practices to avoid excess water:
- Always wring out cloths and sponges before wiping.
- Never soak cabinets or let water pool in corners.
- Use a damp, not wet, cloth for rinsing.
Using a Clean Damp Cloth to Remove Residue
After applying a cleaning solution, it’s crucial to wipe down the cabinets with a clean, damp cloth to remove any soap or cleaner residue.
Steps to rinse cabinets properly:
- Take a fresh microfiber cloth and dampen it with clean, warm water.
- Wipe the cabinet surfaces gently to remove any remaining cleaner.
- Pay extra attention to edges and corners where residue might build up.
- If needed, repeat with a second damp cloth to ensure no residue remains.
Leaving cleaning agents on the surface can cause discoloration over time, so thorough rinsing is necessary.
Drying Cabinets with a Soft, Lint-Free Towel
Once the cabinets are rinsed, drying them immediately is essential to prevent water damage and streaks.
How to dry cabinets properly:
- Use a dry, lint-free microfiber cloth or a soft cotton towel.
- Gently pat and wipe down all cabinet surfaces, ensuring no moisture remains.
- Pay close attention to corners, hinges, and grooves where water may collect.
- Let the cabinets air-dry for a few minutes before closing doors and drawers.
For extra protection, consider using a dry, soft towel to buff the surfaces lightly, restoring shine and preventing streaks.
Read More: how to change a delta kitchen faucet cartridge
Step 5: Maintaining and Protecting Painted Cabinets
Once your cabinets are clean and dry, maintaining their condition is key to preserving their beauty and longevity. Regular maintenance prevents dirt buildup, grease stains, and paint deterioration. In this step, we’ll explore different methods to protect painted kitchen cabinets and keep them looking fresh.
Applying a Protective Wax or Polish
A protective wax or polish can help maintain the shine of painted cabinets while providing an extra layer of protection against stains and scratches.
Benefits of using wax or polish:
- Enhances Shine: Restores the cabinet’s original glow and prevents dullness.
- Adds a Protective Layer: Helps prevent grease, stains, and minor scratches.
- Repels Dust and Debris: Reduces dust buildup and makes future cleaning easier.
How to apply wax or polish:
- Choose a product designed for painted surfaces (avoid heavy-duty wood polishes).
- Apply a small amount to a clean, dry microfiber cloth.
- Gently buff the polish onto the cabinets in circular motions.
- Allow it to sit for a few minutes, then buff it again with a dry cloth for a streak-free finish.
Repeat this process every few months to keep cabinets looking fresh.
Best Practices to Prevent Future Stains
Preventing stains is easier than dealing with them later. A few proactive measures can help keep your cabinets in pristine condition.
Tips to prevent stains:
- Wipe Spills Immediately: Clean up food splatters and liquid spills as soon as they occur.
- Use Cabinet Liners: Line the inside of cabinets to protect against leaks and stains.
- Avoid Harsh Cleaners: Strong chemicals can strip the paint and leave marks.
- Clean Hands Before Use: Oils from hands can leave residue on cabinet handles and doors.
- Install Range Hood or Ventilation: Reduces grease buildup from cooking.
Following these preventive steps will help maintain the finish and reduce deep cleaning frequency.
How to Handle Scratches and Paint Touch-Ups
Even with the best care, painted cabinets may develop minor scratches or chipped paint over time. Small touch-ups can restore their appearance without requiring a complete repaint.
Fixing minor scratches and chips:
- Clean the Area: Use a mild soap solution to remove dust and grease.
- Sand Lightly: If the scratch is deep, use fine-grit sandpaper to smooth the surface.
- Apply Matching Paint: Use a small brush to apply a light coat of touch-up paint.
- Let it Dry Completely: Allow the paint to dry before applying another coat if needed.
- Seal with a Protective Finish: If necessary, apply a thin layer of wax or polyurethane for extra protection.
For deeper scratches or widespread damage, repainting the cabinet doors may be the best option.
When to Repaint or Refinish Your Cabinets
If your cabinets show signs of wear that can’t be fixed with simple touch-ups, repainting or refinishing might be necessary.
Signs that your cabinets need repainting:
- Fading Paint: Discoloration or loss of vibrancy.
- Chipping or Peeling: Paint coming off in multiple areas.
- Water Damage or Warping: Indicates deeper issues requiring a refinishing job.
- Persistent Grease Stains: If deep cleaning no longer restores the surface, fresh paint may be needed.
Refinishing vs. repainting:
- Refinishing involves stripping the old paint, sanding, and applying a fresh protective coat.
- Repainting is a full restoration process where cabinets receive a new color or paint finish.
Repainting cabinets can give your kitchen a completely new look while protecting the wood underneath.
Conclusion About How to Clean Painted Kitchen Cabinets
Keeping painted kitchen cabinets clean and well-maintained is crucial for preserving their beauty and durability. By following a structured cleaning routine, using the right cleaning solutions, and taking preventive measures, you can extend the life of your cabinets and keep them looking brand new for years.
Common Mistakes to Avoid When Cleaning Painted Cabinets
To ensure your cleaning efforts don’t accidentally cause damage, avoid these common mistakes:
- Using Abrasive Sponges or Brushes: Can scratch or strip the paint.
- Applying Too Much Water: Leads to moisture damage.
- Using Harsh Chemicals: Bleach or ammonia-based cleaners can deteriorate the paint.
- Skipping Regular Maintenance: Letting grease and dirt build up makes cleaning harder.
By avoiding these mistakes, you can maintain the cabinets’ finish and prevent unnecessary damage.
FAQ: Answers to Common Cabinet Cleaning Questions
Q: How often should I clean my painted cabinets?
A: Light cleaning should be done weekly, with a deep cleaning every few months to prevent grease and dirt buildup.
Q: Can I use vinegar to clean painted cabinets?
A: Yes, diluted white vinegar (mixed with warm water) is effective for grease removal without damaging the paint.
Q: What is the best cleaner for painted cabinets?
A: Mild dish soap, diluted vinegar, or a gentle commercial cleaner designed for painted surfaces.
Q: How do I prevent grease buildup on cabinets?
A: Use a range hood while cooking, wipe down cabinets regularly, and apply a protective wax layer.