Painting a room might seem like a simple DIY task, but achieving a smooth, flawless finish requires skill, preparation, and the right techniques. At Builtup Home, we believe anyone can master this skill with the right guidance. This guide on how to paint a room like a professional will walk you through everything—from preparation to the final coat.
Why Professional Painting Techniques Matter
A professional-looking paint job isn’t just about aesthetics. It also:
- Increases the durability of walls
- Enhances property value
- Prevents peeling and uneven finishes
Skipping key steps often leads to visible brush marks, patchy coverage, or early wear.
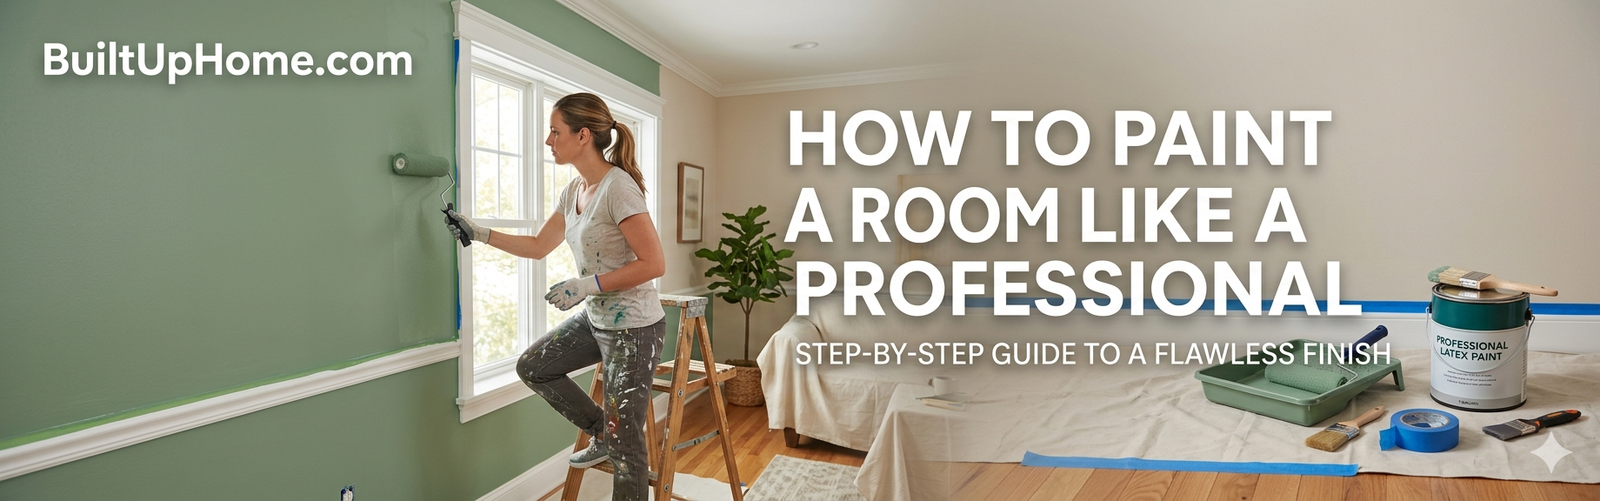
Tools You’ll Need
Before you start, gather the essentials:
- High-quality paint rollers and brushes
- Painter’s tape
- Drop cloths or plastic sheets
- Sandpaper (fine-grit)
- Putty knife and filler
- Primer
- Paint tray and stir sticks
Using professional-grade tools makes a noticeable difference in the final result.
Step 1: Prepare the Room Properly
Preparation is where professionals spend most of their time—and for good reason.
- Remove furniture or cover it with drop cloths
- Clean walls to remove dust and grease
- Fill holes and cracks with filler
- Sand surfaces for a smooth base
A clean and even surface ensures the paint adheres properly.
Step 2: Apply Painter’s Tape Carefully
Use painter’s tape to protect:
- Baseboards
- Window trims
- Door frames
Press the tape firmly to prevent paint from bleeding underneath. This step is key to achieving sharp, clean edges.
Step 3: Prime the Walls
Primer is often overlooked, but it’s essential for a professional finish.
- Covers stains and discoloration
- Helps paint stick better
- Reduces the number of paint coats needed
Apply primer evenly and allow it to dry completely before painting.
Step 4: Choose the Right Paint and Finish
Not all paints are the same. Professionals select paint based on the room:
- Matte/Flat: Ideal for low-traffic areas
- Eggshell/Satin: Best for living rooms and bedrooms
- Semi-gloss/Gloss: Perfect for kitchens and bathrooms
Quality paint may cost more, but it provides better coverage and durability.
Step 5: Use Proper Painting Techniques
This is where the magic happens.
Cutting In
Start by painting edges with a brush (corners, ceilings, trims).
Rolling the Walls
- Use a “W” or “M” motion for even distribution
- Don’t overload the roller
- Work in sections to maintain a wet edge
Apply Multiple Coats
Two coats are usually ideal for a rich, even finish. Allow drying time between coats.
Step 6: Remove Tape and Clean Up
Remove painter’s tape while the paint is still slightly wet to avoid peeling. Clean brushes and rollers immediately for reuse.
Common Mistakes to Avoid
Even small errors can ruin the look:
- Skipping primer
- Using low-quality tools
- Painting over dirty walls
- Applying thick, uneven coats
Avoiding these mistakes helps you achieve a truly professional result.
Pro Tips from Builtup Home
- Paint during daylight for better visibility
- Maintain good ventilation
- Stir paint regularly to keep consistency
- Always test a small patch before full application
Final Thoughts
Learning how to paint a room like a professional is all about patience, preparation, and technique. With the right approach, you can transform any space into a polished, stylish environment.
At Builtup Home, we encourage homeowners to take on DIY projects with confidence—and this is one of the most rewarding upgrades you can make.