A clogged kitchen sink drain is a common household issue that can disrupt your daily routine. Whether caused by grease buildup, food scraps, or soap residue, a blocked drain can lead to slow water drainage, unpleasant odors, and even potential plumbing damage. Fortunately, there are several DIY methods to unclog a kitchen sink before resorting to expensive professional services.
This guide provides a step-by-step approach to diagnosing and fixing a clogged kitchen sink. From home remedies like boiling water and baking soda to more advanced techniques like using a drain snake, we will cover everything you need to know. You’ll also learn when it’s time to call a plumber and how to prevent future clogs.
Before you begin, it’s important to gather the necessary tools and materials. You may need a plunger, baking soda, vinegar, a drain snake, a bucket, and rubber gloves depending on the severity of the clog. This guide will walk you through each method in detail, ensuring that you have the best possible chance of clearing the blockage efficiently.
By following these steps, you can restore proper drainage to your kitchen sink and avoid the inconvenience of standing water and foul odors. Now, let’s begin by diagnosing the problem and identifying the cause of the clog.
A clogged kitchen sink is usually caused by a gradual buildup of substances that restrict water flow. Here are some of the most common culprits:
- Food Debris – Even small food particles can accumulate over time and form a blockage. Rice, pasta, coffee grounds, and eggshells are particularly problematic.
- Grease and Oil – When hot grease is poured down the drain, it eventually cools and solidifies, leading to a sticky buildup inside the pipes.
- Soap Scum – Some soaps contain fats that mix with minerals in the water, creating a residue that clings to pipes.
- Foreign Objects – Accidentally dropped utensils, bottle caps, or even small sponges can obstruct the drain.
Understanding the cause of the clog is essential because it determines the best method for unclogging your sink. For example, grease-related blockages may require hot water and dish soap, while solid debris might need a plunger or drain snake.
Now, let’s move on to the importance of addressing a clog immediately to prevent further damage.
Why It’s Important to Address the Clog Immediately
Ignoring a clogged kitchen sink can lead to bigger plumbing issues and costly repairs. Here’s why you should take action as soon as you notice slow drainage:
- Prevents Pipe Damage – A minor clog can turn into a serious blockage that puts pressure on your pipes, potentially causing leaks or bursts.
- Eliminates Bad Odors – Food particles trapped in the drain begin to decompose, producing unpleasant smells in your kitchen.
- Avoids Bacterial Growth – Stagnant water is a breeding ground for bacteria and mold, posing a health risk to your household.
- Saves Money on Repairs – Simple DIY methods can resolve the issue before it escalates into a problem that requires professional plumbing services.
By addressing the clog immediately, you ensure that your sink remains functional and hygienic. Now, let’s take a look at the essential tools and materials you’ll need to fix a clogged kitchen sink.
Tools and Materials You May Need
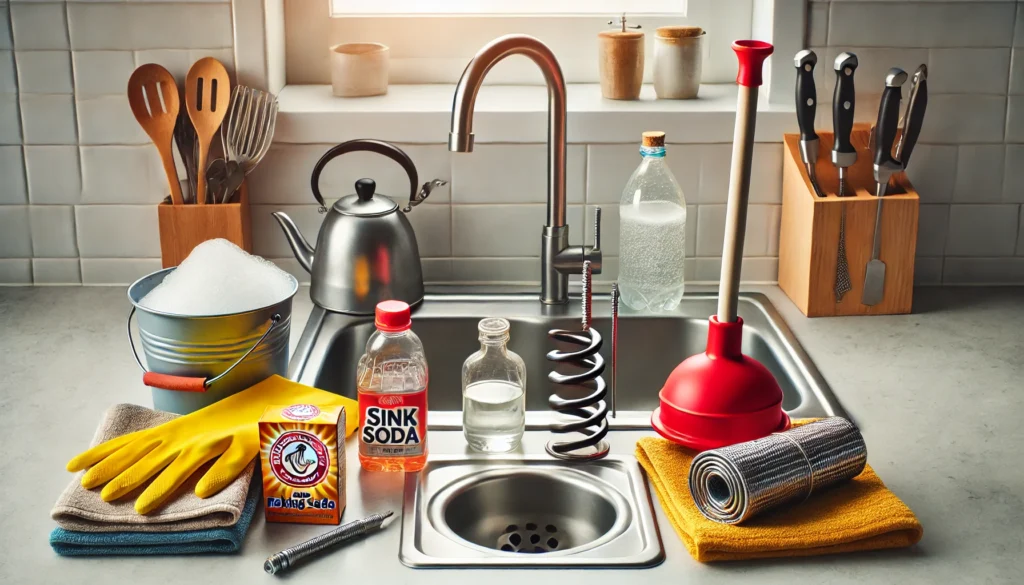
Before attempting to unclog your kitchen sink, gather the following tools and materials to make the process easier:
- Plunger – A sink plunger creates suction to dislodge minor clogs.
- Baking Soda and Vinegar – A natural cleaning solution that breaks down buildup without harsh chemicals.
- Boiling Water – Helps dissolve grease and soap scum.
- Drain Snake or Auger – A flexible tool used to manually remove deeper clogs.
- Bucket and Towels – To catch water spills while working under the sink.
- Rubber Gloves – Protect your hands from dirt and bacteria.
Having the right tools on hand will save you time and effort while unclogging your sink. Now, let’s begin with Step 1: Diagnosing the Problem.
Step 1: Diagnose the Problem
Before attempting any unclogging methods, it’s important to diagnose the problem accurately. Understanding the severity and cause of the clog will help you choose the most effective solution.
The first step is to check for standing water. If the sink is draining slowly, the clog may be minor and fixable with simple home remedies. However, if water is completely stagnant, a more advanced method like plunging or snaking may be necessary.
Next, identify what might be causing the clog. Is it grease buildup, food particles, soap residue, or a foreign object? Examining what goes down your drain regularly can provide clues.
If you have a garbage disposal, check whether it’s jammed. A clogged disposal can block the entire drain, but resetting or manually turning the blades may resolve the issue.
Diagnosing the problem correctly ensures that you don’t waste time on ineffective methods. Now, let’s move on to Step 1.1: Checking for Standing Water.
1.1 Check for Standing Water
If your kitchen sink isn’t draining, check the level of standing water to determine the severity of the clog.
How to Determine the Severity of the Clog
- Slow Drainage: If water drains slowly, the clog is likely partial and may be removed with boiling water or a natural cleaning solution.
- Complete Blockage: If the water doesn’t drain at all, you may need to use a plunger or drain snake to dislodge the obstruction.
Removing Excess Water Before Attempting Unclogging
- Use a Cup or Bowl: If the sink is full, scoop out as much water as possible and discard it in another sink or toilet.
- Use a Wet/Dry Vacuum: If available, a wet/dry vacuum can suck up the standing water quickly.
Once the excess water is removed, you can move on to Step 1.2: Identifying the Type of Clog.
1.2 Identify the Type of Clog
Understanding the type of clog in your kitchen sink is crucial for selecting the most effective unclogging method. Clogs can be caused by different substances, each requiring a different approach.
Food Debris
Food scraps are one of the most common causes of clogs. While some food items break down easily, others—like rice, pasta, coffee grounds, and eggshells—can accumulate in the pipes, creating a blockage. Starchy foods expand when exposed to water, making them particularly troublesome. If food debris is suspected, a combination of a plunger and hot water may be the best solution.
Grease Buildup
Grease and cooking oil do not dissolve in water; instead, they coat the inner walls of pipes and harden over time. As grease builds up, it traps food particles and other debris, eventually leading to a full blockage. If grease is the culprit, flushing the drain with boiling water, followed by dish soap, can help break it down.
Soap Scum
Soap residue can mix with minerals in hard water, creating a sticky, chalky substance that narrows the pipe opening. Over time, soap scum can trap other debris and contribute to a clogged sink. If soap scum buildup is suspected, a baking soda and vinegar solution is an effective way to break it down.
Foreign Objects
Sometimes, small objects—like utensils, bottle caps, or even sponges—accidentally fall into the drain. These objects can create an immediate blockage or contribute to one over time by trapping food and grease. In such cases, physically removing the object with a drain snake or manually disassembling the P-trap may be necessary.
Identifying the type of clog will guide you in selecting the most efficient method to clear it. If you have a garbage disposal, it’s also essential to check if it is contributing to the issue.
1.3 Check the Garbage Disposal (If Applicable)
A clogged garbage disposal can lead to slow drainage or a completely blocked sink. If your sink has a garbage disposal unit, follow these steps to check if it’s the source of the problem.
How a Clogged Garbage Disposal Can Affect Drainage
When food scraps, grease, or fibrous materials like celery and potato peels build up inside the garbage disposal, they can cause it to jam. This prevents water from flowing through the system properly, leading to a clogged sink. If turning on the disposal results in a humming noise or no movement, it may be jammed.
Resetting the Garbage Disposal
- Turn Off the Power – Before doing anything, unplug the garbage disposal or switch off the power at the circuit breaker to prevent injury.
- Press the Reset Button – Most garbage disposals have a reset button located at the bottom of the unit. Pressing this button can sometimes restore normal function.
- Turn It Back On – After resetting, plug the disposal back in or turn on the circuit breaker and test if it works properly.
Manually Turning the Blades
If resetting doesn’t work, the blades might be stuck. Use a hex key (Allen wrench) to manually rotate the blades:
- Insert the Hex Key – Locate the small hole at the bottom of the disposal unit and insert the key.
- Turn the Wrench Back and Forth – Rotate the key in both directions to loosen any jammed debris.
- Test the Disposal – Restore power and check if the unit runs smoothly.
If the garbage disposal is clear but the sink remains clogged, proceed to Step 2: Try Simple Home Remedies.
Read More: how to paint kitchen cabinets professionally
Step 2: Try Simple Home Remedies
Before using heavy-duty tools or calling a plumber, try natural and safe home remedies to unclog your sink. These methods are effective for minor to moderate blockages and don’t involve harsh chemicals that could damage your pipes.
2.1 Use Boiling Water (For Minor Clogs)
Boiling water is one of the simplest and most effective solutions for clearing minor grease or soap-related clogs.
How to Safely Pour Boiling Water Down the Drain
- Boil a Pot of Water – Heat at least 1 liter of water until it reaches a rolling boil.
- Slowly Pour It Down the Drain – Carefully pour the boiling water directly into the sink.
- Wait and Test the Drainage – Allow a few minutes for the hot water to dissolve any grease buildup. Run the tap to check if the water flows freely.
When Boiling Water Won’t Work
- If the clog is caused by solid food debris or foreign objects, boiling water may not be effective.
- Avoid using boiling water if you have PVC pipes, as extreme heat can weaken or damage the plastic.
If the blockage persists, move on to the baking soda and vinegar method.
2.2 Baking Soda and Vinegar Method
This natural solution helps break down grease, soap scum, and minor food debris.
How to Mix and Use This Natural Solution
- Pour Baking Soda – Start by pouring 1 cup of baking soda into the drain.
- Add Vinegar – Follow with 1 cup of white vinegar. The mixture will create a fizzing reaction.
- Let It Sit – Allow the solution to work for 15–30 minutes to dissolve buildup.
- Flush with Hot Water – Finish by pouring a kettle of hot water down the drain.
Letting It Sit and Flush with Hot Water
For best results, let the baking soda and vinegar sit for a while before flushing with boiling water. If the drain is still slow, repeat the process or try a different method.
If you suspect the clog is caused by grease, the salt and hot water method may work better.
2.3 Salt and Hot Water Method
Salt is an abrasive substance that can help break down grease and soap buildup.
How Salt Helps Break Down Grease Buildup
- Pour Salt Down the Drain – Use ½ cup of table salt or coarse salt.
- Add Boiling Water – Immediately pour a pot of boiling water to flush the salt down.
- Wait and Test the Drainage – Let it sit for 5–10 minutes, then run hot tap water to see if the clog clears.
Salt works well for grease-related clogs because it scrapes and absorbs grease buildup, preventing further blockages.
If home remedies fail, the next step is to use a plunger to dislodge the clog.
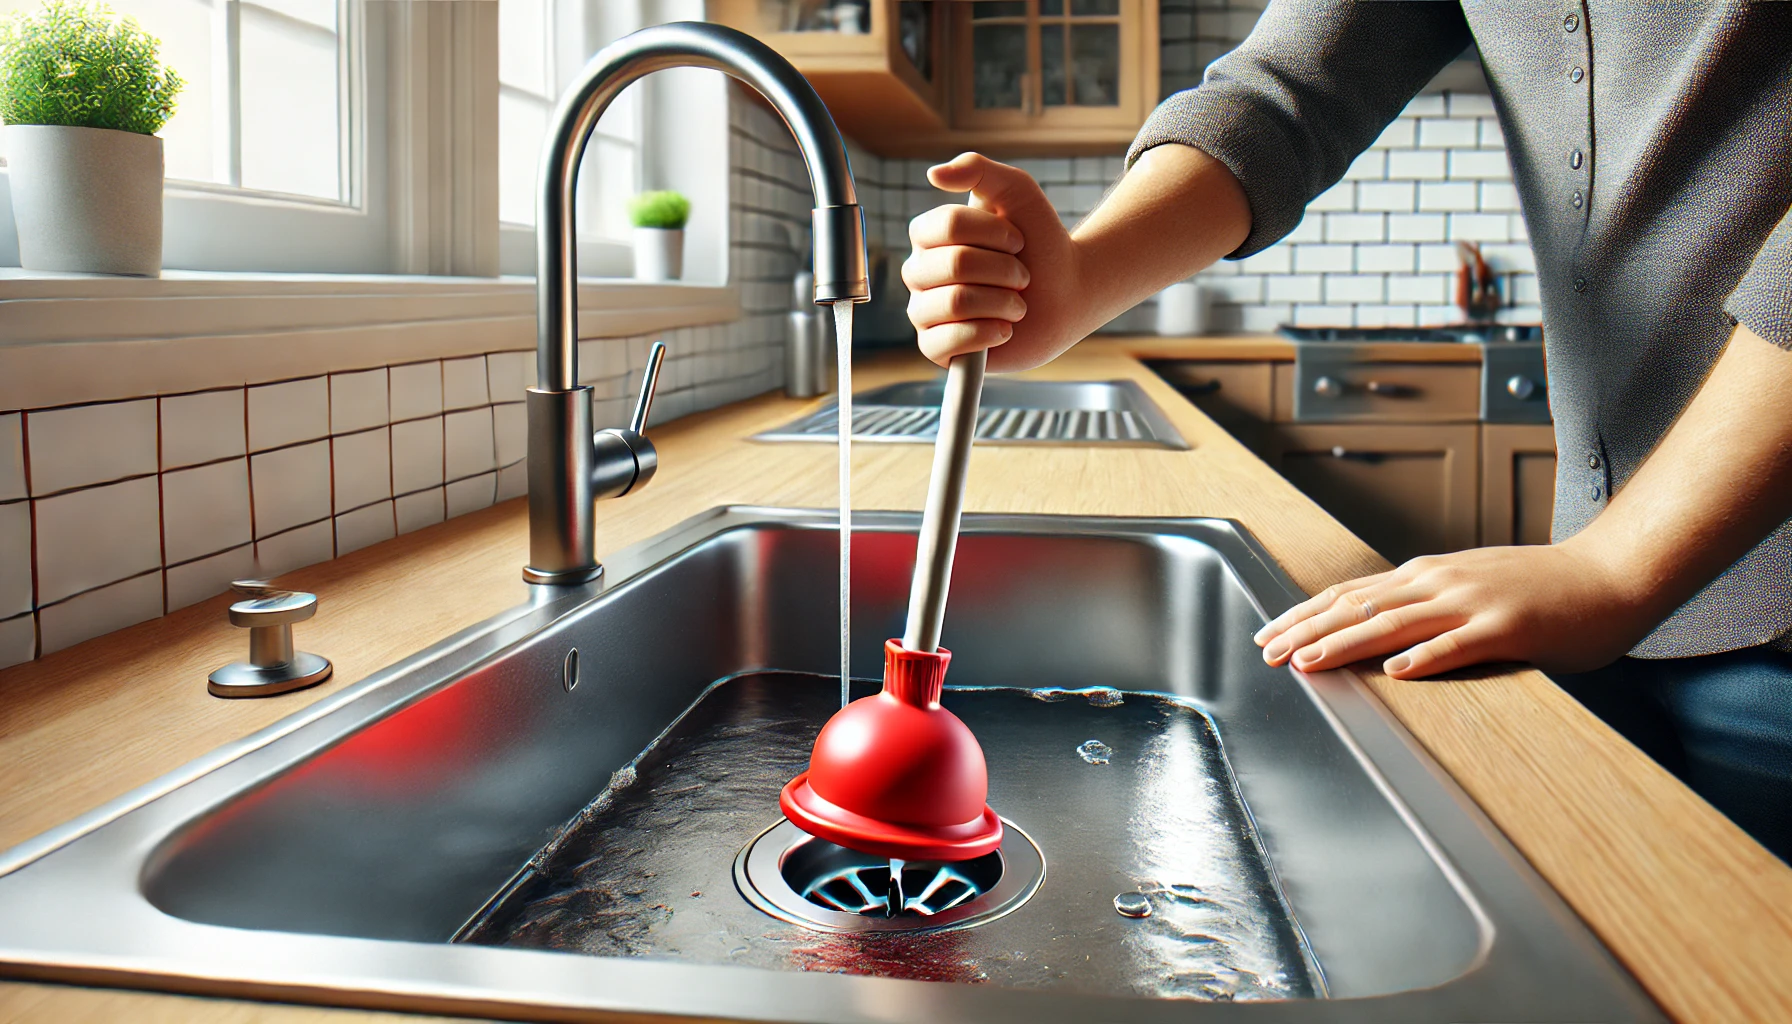
Step 3: Use a Plunger
If home remedies don’t work, using a plunger can help dislodge stubborn clogs. A plunger creates suction and pressure that force the blockage to move, allowing water to flow freely again.
3.1 Choose the Right Plunger
Not all plungers are the same. Using the correct type ensures maximum efficiency when unclogging your kitchen sink.
Sink Plunger vs. Toilet Plunger
- Sink Plunger – This type has a flat rubber cup and is designed for sinks and flat surfaces. It provides a tight seal, making it ideal for unclogging kitchen sinks.
- Toilet Plunger – This has an extended flange at the bottom and is specifically designed for toilets. It won’t create a proper seal on a kitchen sink drain, making it ineffective.
For best results, always use a sink plunger when dealing with kitchen sink clogs.
3.2 How to Properly Plunge a Sink
Once you have the correct plunger, follow these steps for effective plunging:
Creating a Proper Seal
- Remove Excess Water – If the sink is full, remove some of the standing water, leaving just enough to cover the plunger’s cup.
- Block the Overflow Hole – If your sink has an overflow opening, cover it with a wet cloth to ensure strong suction.
- Position the Plunger – Place the plunger’s rubber cup directly over the drain, ensuring an airtight seal.
The Plunging Technique for Maximum Effectiveness
- Push Down Firmly – Use strong and steady downward thrusts to create pressure.
- Pull Up Quickly – Maintain the seal while pulling up to dislodge the clog.
- Repeat Several Times – Perform about 15–20 plunges, then check if the water drains properly.
If plunging doesn’t work, move on to using a plumbing snake or drain auger for a more thorough unclogging process.
Step 4: Use a Plumbing Snake or Drain Auger
A plumbing snake (drain auger) is a flexible, coiled tool designed to reach deep into pipes and break up clogs that a plunger can’t remove.
4.1 When to Use a Drain Snake
A drain snake is useful when:
- Home remedies and plunging have failed to clear the blockage.
- The clog is deep within the pipes and out of reach of other tools.
- The sink drains very slowly or remains completely clogged despite multiple attempts to clear it.
4.2 How to Use a Drain Snake Correctly
Follow these steps to use a drain snake effectively:
Inserting the Snake
- Feed the Snake into the Drain – Insert the tip of the snake into the drain opening.
- Push Gently – Guide the snake down the pipe, turning the handle clockwise to help navigate bends.
Rotating to Break Up the Clog
- Turn the Handle – Keep rotating the snake while pushing forward to break up or latch onto the clog.
- Apply Pressure If Needed – If you feel resistance, continue rotating until the blockage loosens.
Retracting and Cleaning
- Pull the Snake Back – Slowly retract the snake, bringing out debris stuck to it.
- Flush with Hot Water – Once the snake is out, pour boiling water down the drain to flush any remaining particles.
If the clog persists, the next step is to clean the P-trap under the sink.
Read More: how to paint kitchen cabinets without sanding
Step 5: Clean the P-Trap
The P-trap is the curved pipe located under the sink that traps debris and prevents sewer gases from entering your home. Over time, it can become clogged with grease, soap scum, and food particles.
5.1 What Is the P-Trap?
The P-trap is essential because:
- It prevents foul odors from coming up through the drain.
- It collects debris that might otherwise clog deeper parts of the plumbing.
- It maintains water flow by preventing solid waste buildup.
5.2 How to Remove and Clean the P-Trap
Steps to Unscrew and Remove the Trap
- Place a Bucket Underneath – To catch water and debris when you remove the trap.
- Loosen the Slip Nuts – Use pliers or your hands to loosen the slip nuts on both ends of the P-trap.
- Detach the Trap – Carefully remove the trap and let excess water drain into the bucket.
Cleaning Out Debris
- Inspect the Trap – Check for any food, grease, or soap scum buildup.
- Scrub with a Brush – Use a bottle brush or old toothbrush to scrub the inside of the trap.
- Flush with Hot Water – Rinse thoroughly before reattaching.
Reattaching Properly
- Align the P-Trap Correctly – Make sure both ends fit securely into place.
- Tighten the Slip Nuts – Hand-tighten first, then use pliers for a snug fit.
- Test for Leaks – Run water and check for any drips or leaks.
If the clog remains stubborn, chemical drain cleaners may be a last resort.
Step 6: Use a Chemical Drain Cleaner (As a Last Resort)
Chemical drain cleaners dissolve stubborn blockages, but they should be used with caution as they can damage pipes.
6.1 Types of Chemical Drain Cleaners
- Enzyme-Based Cleaners – These contain natural bacteria that break down organic materials safely.
- Harsh Chemical Cleaners – These use strong acids or caustic ingredients to dissolve clogs quickly.
6.2 How to Safely Use Chemical Cleaners
Precautions When Handling Chemicals
- Always wear gloves and safety goggles to prevent burns or irritation.
- Keep the room well-ventilated to avoid inhaling harmful fumes.
- Never mix different chemicals, as this can cause toxic reactions.
Following Instructions to Prevent Pipe Damage
- Read the label carefully before use.
- Pour the recommended amount slowly into the drain.
- Let the cleaner sit for the specified time before flushing with water.
If the clog still isn’t resolved, calling a plumber may be the best option.
Step 7: When to Call a Plumber
Sometimes, professional help is necessary to prevent further damage to your plumbing system.
7.1 Signs You Need Professional Help
- The clog persists despite multiple DIY attempts.
- There are gurgling noises or foul odors coming from the drain.
- Water backs up into other areas, like the dishwasher or nearby sinks.
7.2 How to Choose the Right Plumber
Checking Credentials and Reviews
- Look for a licensed and insured plumber.
- Check online reviews and ask for recommendations.
Getting Cost Estimates
- Request multiple quotes before deciding.
- Ask about warranties or guarantees on their work.
Preventive Tips to Avoid Future Clogs
- Regularly flush with hot water to prevent buildup.
- Avoid pouring grease or coffee grounds down the drain.
- Use a sink strainer to catch food debris.
Conclusion About how to unclog a kitchen sink drain
Unclogging a kitchen sink drain can often be done using simple DIY methods, but persistent blockages may require professional help. By understanding the causes, using effective home remedies, and practicing preventive care, you can keep your sink running smoothly and avoid future plumbing issues. 🚰😊