Painting a room is one of the easiest and most cost-effective ways to transform your living space. However, achieving a smooth, professional finish requires more than just paint and enthusiasm. Knowing the right tools needed to paint a room can make the entire process faster, cleaner, and more efficient.
In this guide, Builtup Home walks you through all the essential tools you’ll need before you dip your brush into paint.
Why Having the Right Painting Tools Matters
Using the correct tools doesn’t just save time—it ensures:
- Even paint coverage
- Minimal mess and spills
- Professional-looking results
- Reduced paint waste
Skipping key tools often leads to streaks, uneven coats, and frustration.
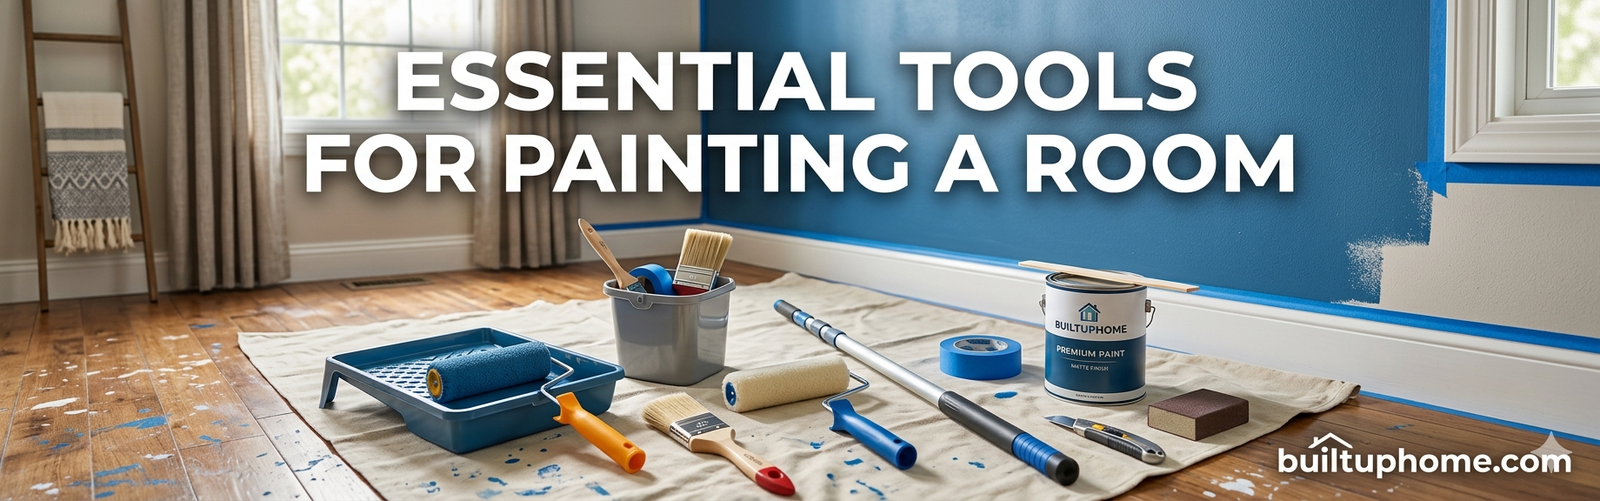
Essential Tools Needed to Paint a Room
1. Paint Rollers and Roller Covers
Paint rollers are ideal for covering large wall areas quickly. Choose:
- Medium nap rollers for smooth walls
- Thicker nap rollers for textured surfaces
A good roller ensures even distribution and saves time.
2. Paint Brushes
Brushes are necessary for detail work and edges. Keep multiple sizes:
- 2–3 inch angled brush for corners and trim
- Smaller brushes for tight areas
High-quality brushes reduce streaking and brush marks.
3. Paint Tray and Liners
A paint tray holds your paint and helps evenly coat rollers. Tray liners make cleanup quick and easy—just replace them after use.
4. Painter’s Tape
Painter’s tape is essential for protecting:
- Baseboards
- Window frames
- Door edges
It helps create clean, sharp lines without accidental smudges.
5. Drop Cloths or Plastic Sheets
Protect your floors and furniture from spills with:
- Canvas drop cloths (reusable and durable)
- Plastic sheets (budget-friendly option)
Never skip this step—it prevents costly cleanup.
6. Sandpaper or Sanding Block
Before painting, smooth out walls by sanding:
- Removes imperfections
- Helps paint adhere better
This step is crucial for a polished finish.
7. Putty Knife and Filler
Repair cracks, holes, or dents using:
- Wall filler or spackling compound
- A putty knife for smooth application
Painting over damaged walls reduces quality.
8. Paint Stirrer
Paint can separate over time. A stirrer ensures:
- Consistent color
- Even texture
Many paint stores provide these for free.
9. Extension Pole
An extension pole attaches to your roller, allowing you to:
- Reach high walls and ceilings
- Reduce strain from ladders
It speeds up the painting process significantly.
10. Ladder or Step Stool
For corners and ceiling edges, a sturdy ladder is essential. Always prioritize safety when working at heights.
11. Primer
While not a tool, primer is critical when:
- Painting over dark colors
- Covering stains
- Working on new drywall
It ensures better paint adhesion and durability.
12. Cleaning Supplies
Keep these handy:
- Damp cloths
- Mild soap
- Bucket of water
Quick cleanups prevent stains and maintain neatness.
Optional but Helpful Tools
To make your painting project even easier, consider:
- Paint edgers for clean borders
- Spray painters for large areas
- Mixing drill attachments for large paint buckets
Step-by-Step Preparation Using These Tools
- Clear the room and cover furniture
- Lay down drop cloths
- Repair wall imperfections
- Sand and clean surfaces
- Apply painter’s tape
- Prime the walls (if needed)
- Start painting with brushes and rollers
Common Mistakes to Avoid
Even with the right tools, avoid these errors:
- Skipping surface preparation
- Using low-quality brushes
- Overloading the roller with paint
- Removing painter’s tape too late
Final Thoughts
Having the right tools needed to paint a room can make the difference between a messy job and a professional-looking result. With proper preparation and quality tools, anyone can achieve a beautifully painted space.
At Builtup Home, we believe that the right tools empower you to create a home you love—one brushstroke at a time.