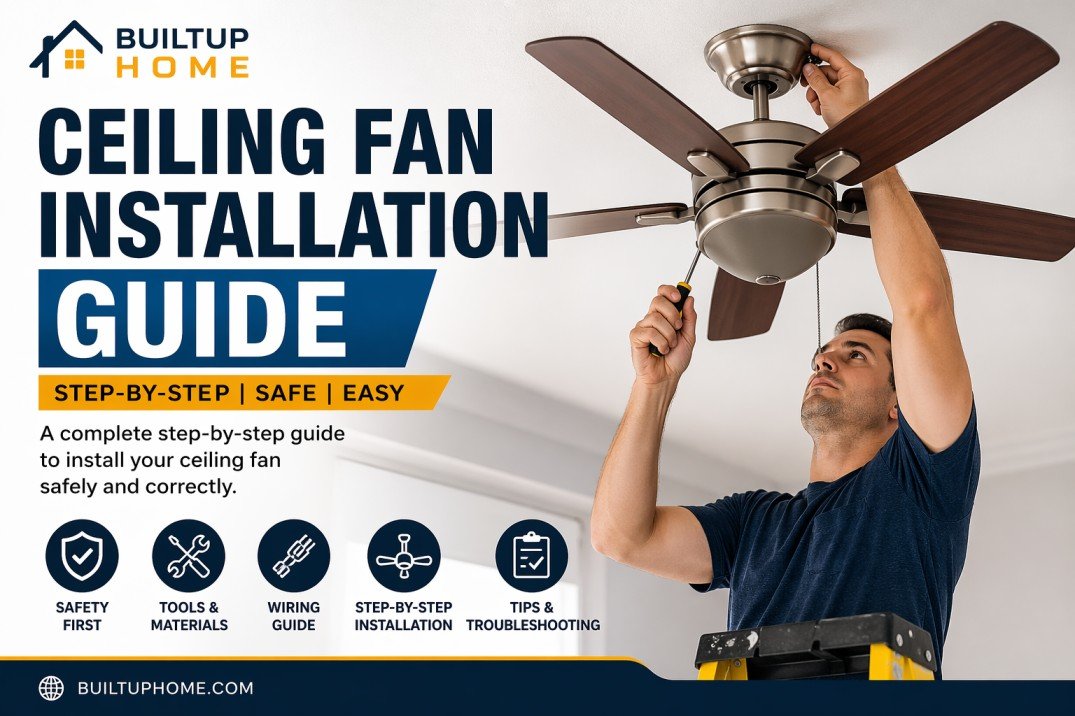
Ceiling fans are a practical and stylish addition to any home, offering improved airflow, better energy efficiency, and enhanced comfort throughout the year. Whether you’re upgrading an outdated fixture or installing a fan in a new room, understanding the correct installation process is essential for both safety and performance.
In this complete ceiling fan installation guide by Builtup Home, you’ll learn everything from preparation and tools to step-by-step instructions, expert tips, and troubleshooting—all explained in a detailed, easy-to-follow format.
Introduction: Why Ceiling Fans Matter
Ceiling fans are often underestimated, yet they play a crucial role in maintaining indoor comfort. During hot months, they create a wind-chill effect that makes rooms feel cooler without lowering the thermostat. In colder seasons, reversing the fan direction helps redistribute warm air trapped near the ceiling.
This simple device can:
- Lower energy consumption
- Reduce electricity bills
- Enhance room aesthetics
- Improve air circulation
When installed correctly, a ceiling fan becomes a long-term investment in comfort and efficiency.
Understanding Ceiling Fan Types
Before starting installation, it’s important to choose the right type of fan for your space.
Standard Ceiling Fans
These are the most common and are suitable for rooms with standard ceiling heights. They often come with a downrod for proper clearance.
Flush Mount (Low-Profile) Fans
Ideal for low ceilings, these fans are mounted directly against the ceiling to maximize headroom.
Energy-Efficient Fans
Modern fans with advanced motors consume less electricity and often include remote controls and smart features.
Outdoor Ceiling Fans
Designed for patios and outdoor areas, these fans are built to withstand humidity and weather conditions.
Tools and Materials You’ll Need
Preparing your tools in advance ensures a smooth installation process. You will typically need:
- Screwdrivers (Phillips and flathead)
- Wire stripper
- Voltage tester
- Adjustable wrench
- Ladder or step stool
- Wire connectors (wire nuts)
- Electrical tape
Having everything ready saves time and minimizes interruptions.
Safety Guidelines You Must Follow
Working with electrical fixtures requires caution. Ignoring safety measures can lead to serious injury or damage.
Always:
- Turn off the power at the circuit breaker
- Use a voltage tester to confirm no electricity is flowing
- Ensure the electrical box is rated for ceiling fans
- Use a stable ladder
- Follow manufacturer instructions carefully
A ceiling fan is heavier than a standard light fixture, so proper support is critical to avoid accidents.
Preparing for Installation
Check the Ceiling Box
Your existing electrical box must be labeled as “fan-rated.” If not, replace it with a stronger box designed to support the fan’s weight and movement.
Measure Ceiling Height
Ensure the fan will be at least 7 feet above the floor. For high ceilings, a downrod may be required.
Choose the Right Size
Selecting the correct blade span ensures optimal airflow:
- Small rooms: 29–36 inches
- Medium rooms: 42–48 inches
- Large rooms: 50–56 inches
Step-by-Step Ceiling Fan Installation
Step 1: Turn Off Power
Locate your home’s circuit breaker and switch off the power supply to the installation area. Double-check with a voltage tester.
Step 2: Remove the Old Fixture
Carefully unscrew the existing light fixture and disconnect the wires. Take note of how the wires are connected.
Step 3: Install a Fan-Rated Electrical Box
If needed, replace the old box with a fan-rated one. Secure it firmly to a ceiling joist or use a brace for stability.
Step 4: Attach the Mounting Bracket
Secure the mounting bracket provided with your fan to the electrical box. Tighten all screws to ensure a solid base.
Step 5: Assemble the Fan
Attach the downrod (if required) and thread the wires through it. Connect the motor housing securely.
Step 6: Connect the Wiring
Match the wires carefully:
- Black to black (live wire)
- White to white (neutral wire)
- Green or bare to ground
- Blue (if present) for light kit
Use wire connectors and ensure all connections are tight.
Step 7: Mount the Fan
Lift the fan and attach it to the mounting bracket. This step may require assistance due to the fan’s weight.
Step 8: Attach the Blades
Secure each blade to its bracket and then attach them to the motor. Tighten all screws to prevent wobbling.
Step 9: Install the Light Kit
If your fan includes a light, connect the wires and attach the fixture and bulbs.
Step 10: Restore Power and Test
Turn the power back on and test the fan at different speeds. Check for smooth operation and ensure there is no wobbling or unusual noise.
Common Mistakes to Avoid
Even small errors can affect performance or safety. Avoid these common issues:
- Using a standard electrical box instead of a fan-rated one
- Leaving screws loose, leading to wobbling
- Incorrect wiring connections
- Ignoring grounding
- Installing the fan too close to walls or ceiling
Troubleshooting Common Problems
Fan Doesn’t Turn On
Check the circuit breaker and wiring connections.
Wobbling Fan
Tighten screws and ensure blades are evenly aligned. Use a balancing kit if necessary.
Noisy Operation
Make sure all parts are securely fastened and properly aligned.
Maintenance Tips for Long-Term Performance
To keep your ceiling fan running efficiently:
- Clean blades regularly to prevent dust buildup
- Check screws periodically for tightness
- Lubricate motor (if required by manufacturer)
- Reverse fan direction seasonally for better efficiency
DIY vs Professional Installation
Installing a ceiling fan is manageable for most homeowners with basic tools and knowledge. However, you should consider hiring a professional electrician if:
- There is no existing wiring
- The ceiling structure is complex
- You are unsure about electrical connections
Professional installation ensures safety and compliance with electrical standards.
Final Thoughts
Installing a ceiling fan may seem challenging at first, but with proper preparation and careful execution, it becomes a straightforward DIY project. By following this Builtup Home ceiling fan installation guide, you can confidently install your fan and enjoy improved comfort, better airflow, and energy savings.
Taking the time to install your ceiling fan correctly not only enhances its performance but also ensures long-term safety and reliability in your home.